Showing posts with label reduce waste. Show all posts

Monday, 30 April 2018

I Designed my Own Keep Cup

(This is not a paid review, I'm just very easily excited. All links are meant to open in new tabs if you're on a computer. If any don't do that, let me know and I'll get cross with them).

When I first wanted a reusable take-away coffee cup, I wrote all about it on this blog. I wrote again when I found my perfect cup. You can read about that cup by following this link. I told that link to open in a new window, so it had better... Anyway, when I got that cup, I loved it. You know what? I still love that cup. and its twin. I'll tell you a little bit about those two cups, and then get on with what you came here for.

The first cup, the one featured in the linked blog post, was free with any Nescafe purchase from Coles. That's one thing that made it the perfect cup for me at the time: I had very little money indeed as I had no job. My second reusable cup, that one's twin, I got soon after I moved to Brisbane, when I found it beside the footpath when I was walking to the bus one day... or home from the bus, I forget which. Anyway, I found it, and it didn't look like it had ever been used, so I adopted it. It's not weird.

Anyway, those cups are about six years old, now. They're still perfectly usable, because I generally only use one of them once a week or so. If I used them every day, they would be getting very old and would definitely need replacing.

Recently, my mum was in hospital in Brisbane and, since I was the only person that lived close enough, I was going to visit her every day. That's when I decided I needed a third reusable take-away cup, and when I decided that should be a Keep Cup.

Why did I decide I needed a third cup? Well, one day, both of my reusable cups were dirty and so I needed to get a paper take-away cup. Since it only happens rarely, this is fine. It is an unfortunate truth that sitting at the hospital requires coffee. The problem occurred when I heard "cappuccino" and just grabbed it and left. I had grabbed the wrong cappuccino, a simple mistake, since all the paper cups look the same. It would usually have been insignificant, but this cappuccino had vanilla syrup in it. I don't mind flavoured coffee, but flavours are for lattes, not cappuccinos, so obviously my day at the hospital was ruined!

And why did I decide my new cup had to be a Keep Cup? Well, that is an excellent question, which calls for photos!

The lids of my two old cups are like this:


It has two little holes in it: one for drinking through (the most important one), and one tiny little chimney one, which, to be fair, you probably don't actually need since the steam can probably get out the other one. These holes are both open all the time, which is great when you're drinking out of it, as it allows this to happen. When you're finished your drink and want to stick the cup back in your bag, however, it is not good. You either need to rinse your cup in a public bathroom, or wipe the inside of the cup and lid with a paper napkin, which creates waste.

In contrast, this is a Keep Cup lid:


WHERE IS THE DRINKING HOLE!?

THERE IT IS!

It safely hides away under a little plug, so that you can put it in your bag and carry it home to wash, even if you don't have a spare plastic bag, or a stockpile of napkins.

I ordered my Keep Cup from the company's own website. One reason I did this was so I could come up with my own colour combination. Obviously, I chose a different colour for every piece of my cup.

The package arrived today (Monday the 30th of April). I was impressed that there was no excess packaging, the box was just the right size for my cup.


I opened it up, and stared at my beautiful little cup for a while.


Honestly, I already want to order another one, just so I can put four new colours together...

All the standard colour combinations on the Keep Cup website have cool names, like "Kinetic" or "Zephyr", so I have named my colour combination "Gladys", which I feel is as good a name for a colour combination as any.


If you want to design a Keep Cup in Gladys, choose "Punk Pink" for the cup, "Acid Plum" for the lid, "Sunflower" for the plug, and "Satsuma" for the band. YOU'RE WELCOME!

Anyway, obviously the first thing I did was compare this Keep Cup to the  reusable take-away cups I already had.


Initially, I thought the Keep Cup was slightly larger and was a little upset that I'd obviously been marginally overcharged for my hot drinks for six years, but to check, I performed the very scientific experiment of filling the old one up with cold water, and pouring it into the new one.


I did spill a bit, because I am slack and clumsy, so taking that into account, they're actually the same volume, just different dimensions. SCIENCE!

I haven't used it out yet, since I just got it today, but here I am using it at home:

#SELFIE!

I promise I'll brush my hair before I use it in public. Probably.

You can buy your own Keep Cup here. If you design one in Gladys, let me know and we can be twinsies! If you design one in a different colour scheme, let me know what you call your creation!

If you don't want to design your own, I recommend this one that is modelled on the dog man from the Star War, or if you want everyone to know you're a good person without having to tell them, you can go for this Sea Shepherd one over here or that 1 Million Women one over there. No, but seriously, Sea Shepherd and 1 Million Women are both organisations close to my heart, which I will talk more about some time when I'm not talking about cups and myself instead.

Lots of love,

Cassandra Louise.

This post has been shared on the May "Snapped Up" Linky Party
Home and Horizon Snapped Up Linky

And on Deep Fried Fruit's Lovin' Life Linky Party

Thursday, 30 January 2014

There Is Something Very Special About This Chair...

There is something very special about this chair, and it's not just that it's holding my birthday presents until I open them tomorrow.
 Here, I'll take those off so you can see it properly.
Actually, there's a lot of special things about this chair.  First thing is, there's only one of it, which, if it's not to your taste, you're probably glad to hear.  I can see it's a chair you either love or hate on sight.
The second special thing about this chair is that I rescued it.  Technically, I rescued it twice.  I made it; rather I put it together from two old chairs and some bits and bobs.
This is our story, mine and the chairs:
Many years ago now, I was not living somewhere safe and secure.  The only place I could find to rent at short notice and without getting rid of most of the few things I had was actually a storage space under an old style high set house.  I could use their kitchen and bathroom at least but to say my room was a "bedroom" is a joke.  It was a storage space.  It had an old lumpy bed and a little side table.  The floor was dirt and the floor of the house above was unsealed so my wake up call every morning was sand and grit raining down on my face from above as the little girl of the house ran around getting ready for school.  There was no electric light, I had a small battery powered one but not enough to read or study by.  There was a wardrobe of sorts, but it had no doors.
But then, one day, my favourite thing ever happened: Hard Rubbish Collection!  You guys, it's like an op shop but it's free and on everyone's lawn, as if you didn't know I'd love that!
I saw the blue chair frame in my immediate neighbour's pile.  I saw it had no seat.  I stroked the chair frame and told it "I wish I could fix you, then I could keep you and save you.  I'll save myself one day." because paying actual money to live in a storage space drives you a little bit batty.
For two days I thought about that lovely chair frame.  I liked the colour and the shape.
Then, the day before pickup in my area, I went out for a walk.  I decided to go down a street I'd never been down before, just to see what was there.  That's when I saw it: a clinical, boring-looking ubiquitous metal chair with it's seat detached.  The seat was not exactly pretty, but it was intact and functional, so I grabbed it, along with a bag of coat hangers to get my clothes out my suitcase and in the "wardrobe".
I took it back to my room and then went and grabbed the frame.  I sat the seat on the chair and looked at it.  It fit!  I planned to go to an op shop the next day and buy some fabric or an old sheet or something to decorate it a bit.  It was about five o'clock by now so all the op shops were closed.
But the more I looked at it, the more I had to fix it absolutely now!  I opened my wallet to see if I could afford KMart.  $20.  It'll have to do, I had a chair to save!
I bought a pink single bed sheet to cover the seat, a hammer and nails to hold all the bits together and on my way out, the craft section caught my eye.  I thought it would be nice if I could tie-in the delicate blue of the chair with the bright pink of the seat somehow.  I bought some pastel coloured paints and some butterfly decals and ended up making this design:
I finally had a little colour in my life!  With no garden and no electric lighting, this is what I needed!
I was never quite able to fix the seat on properly.  It held for a bit, but came loose again.
But it's a very comfortable seat, and if you sit still, you'd never notice.
There is something very special about this chair.
Signed with love and hope,
Cassandra Louise.

Tuesday, 31 December 2013

Some of my Favourite Op Shop Posts

For the purpose of this post and others like it I may do in the future, "op shop" will mean op shop, thrift store, secondhand shop, true vintage shop and any other place you may get "pre-loved" clothing, toys and homewares, including online.  I fished some really fantastic things out of the bin at a sharehouse I was living at, once, and I am extending "op shop" to include things like that, too.

This post is essentially a list of blog posts which I have found especially inspirational or inspiring.  In some cases I searched through many posts by a particular blogger to find just the right one, in some cases I knew exactly what post I wanted to feature before I even started.  I hope from here you get some wonderful, inspirational ideas!
They are in no apparent order save for the order I found/rediscovered them.

First, a little shameless self-promotion with this post of my own: Things You May Not Know About Charity Op Shops

2. This post about clothes swapping by Agy: Have You Been To A Fashion Swop?

3. Thrifted maternity wear with Erica: Human Friendly Fashion Blogger Outfit- Maternity Edition

4. This one at I Love To Op Shop, in which I quite like the ugly clock: How Ugly is my Clock?

5. This adorable collection by Op Shop Mama, as I'm a sucker for a kid's xylophone: But Wait, There's More!

6. This one by Ali, because she opens with a delightful pun: Confessions of a Serial Shopper

If you enjoy reading these, let me know.  I would love to make another list for you.  Lists are cool.
I was a bit sad that some of my all-time favourites are from blogs that have been taken down.  Boo! :-( Lots of gems here though, all from blogs that are still up and have a lot of interesting content. :-)

Do you have a favourite op shop post or thrift blog?

Signed with love,
Cassandra Louise.

Monday, 14 May 2012

My first ever refashion project!

(Remember to click on pictures to see them better)
On a sunny day down town a few short years ago (ok, so they were regular-length years) I bought this T-shirt, which I still really love to this day.  It's impossible not to love it, it has a little kitty-cat wearing a tiara on it.
(it is a fact that adorable kitten is adorable)

There's one problem with this shirt now:
As I'm not desperately seeking a date to a high school dance, I think it's a little tight...

My first thought was to cut the kitten off and sew it on a new shirt, but then I thought about all that wasted fabric, and so I decided I'd just make the shirt a little bigger.  I thought I could take the sleeves off and put some panels of fabric in the sides.
I proceeded to look through my fabric boxes, but I couldn't find anything large enough that was the right colour and cotton or similar to cotton.
Then I thought to go through my old clothes.  I have two bags of clothes that I thought needed minor repairs before heading to the op shop.  In the first bag, I found this skirt.
It's a children's size 14, which means it's designed to be about ankle length on a twelve-year-old.  I always loved that skirt, and it's the same shade of blue as my kitten shirt, so here's my chance to preserve both!  I'll make my kitten T-Shirt into a dress!

I was a bit nervous, as I'm good at using things for other purposes, but I wouldn't say I sew.
 This skirt is a dress.
This wheelbarrow is a baby's cradle, also it is full of plants.

 I also have a tablecloth poncho, a milkshake glass vase and shot glass candle holders, among other things...

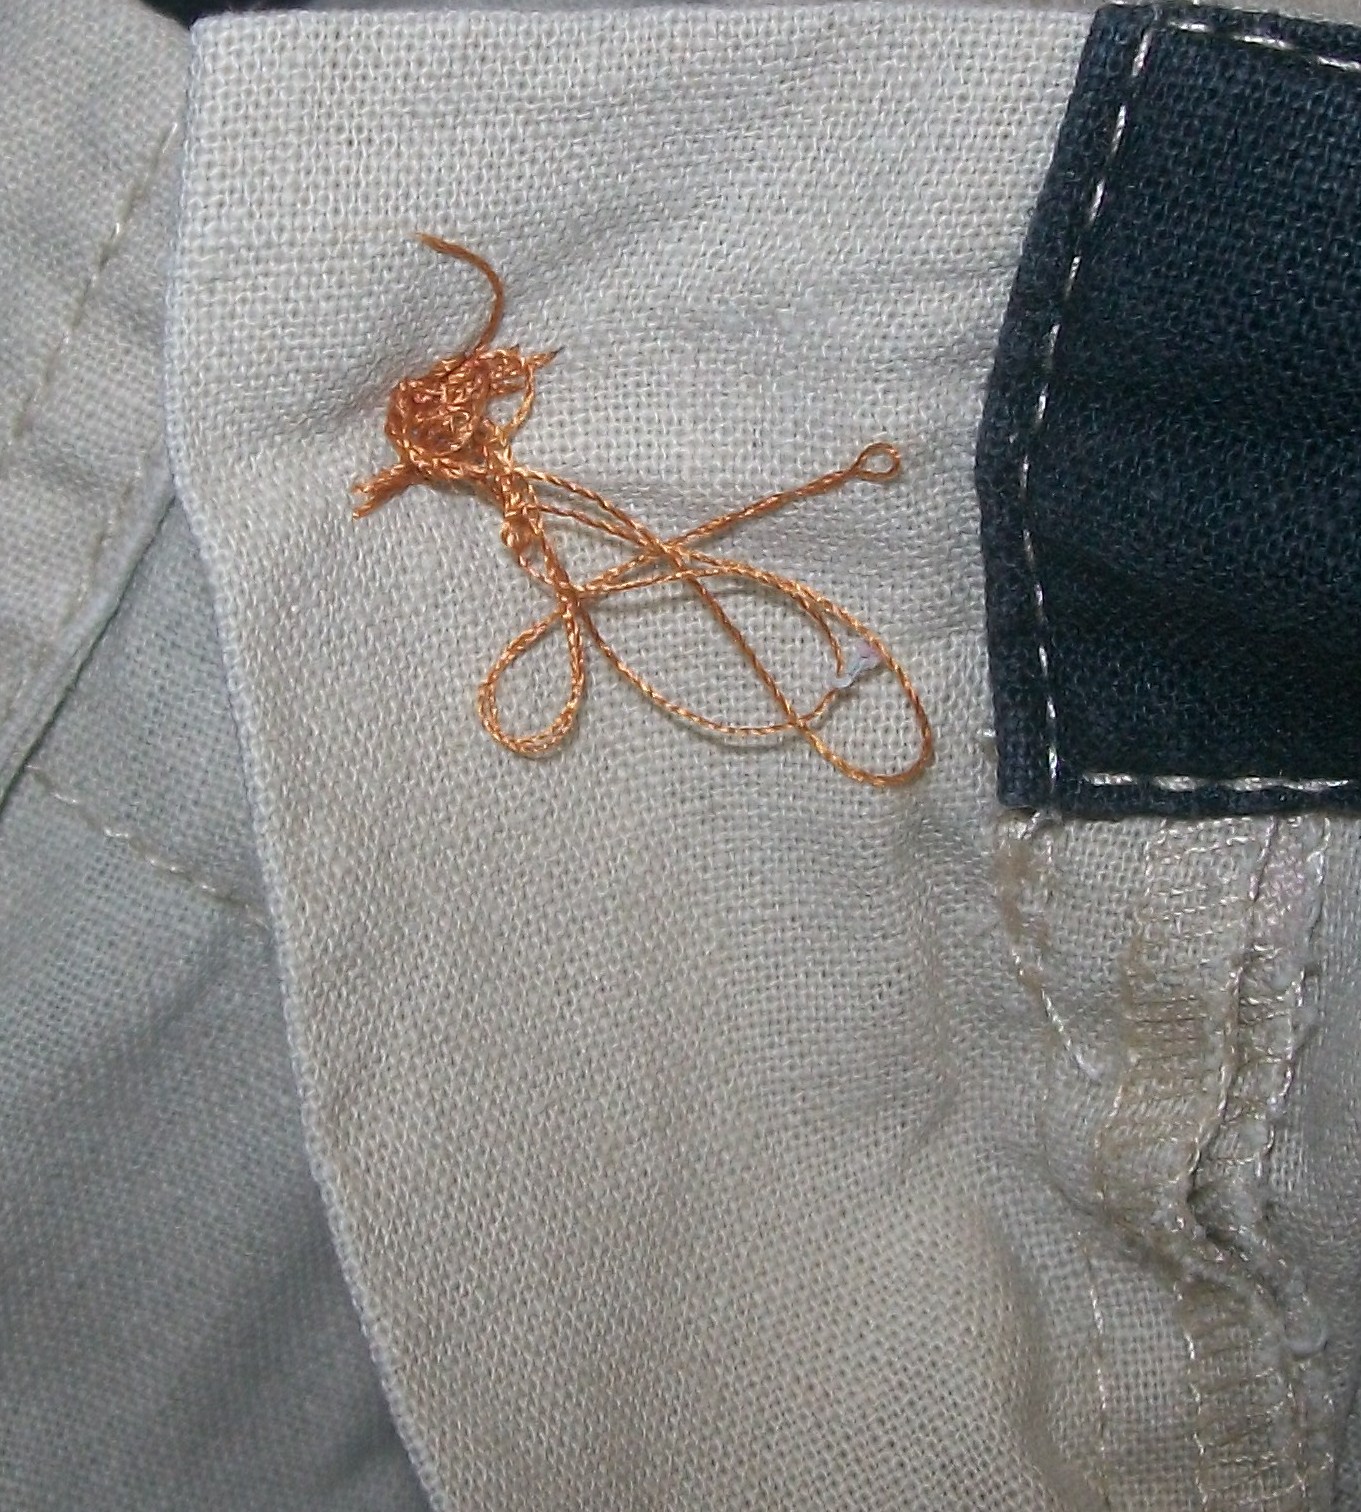
But the last thing I sewed was this button:
Which looks great until you turn it over:
And I would be hand-sewing this dress, as I don't have a machine (and don't really like them).

But I set forth!  First, I cut the hem off the shirt, for easy unpicking.  I kept the hem, because you never know when you'll need bits in art and craft.


Next I prepared the shirt by unpicking the side seams and unpicking the sleeves:

Next I put the shirt on to work out how much of the skirt fabric I would need for the panels.
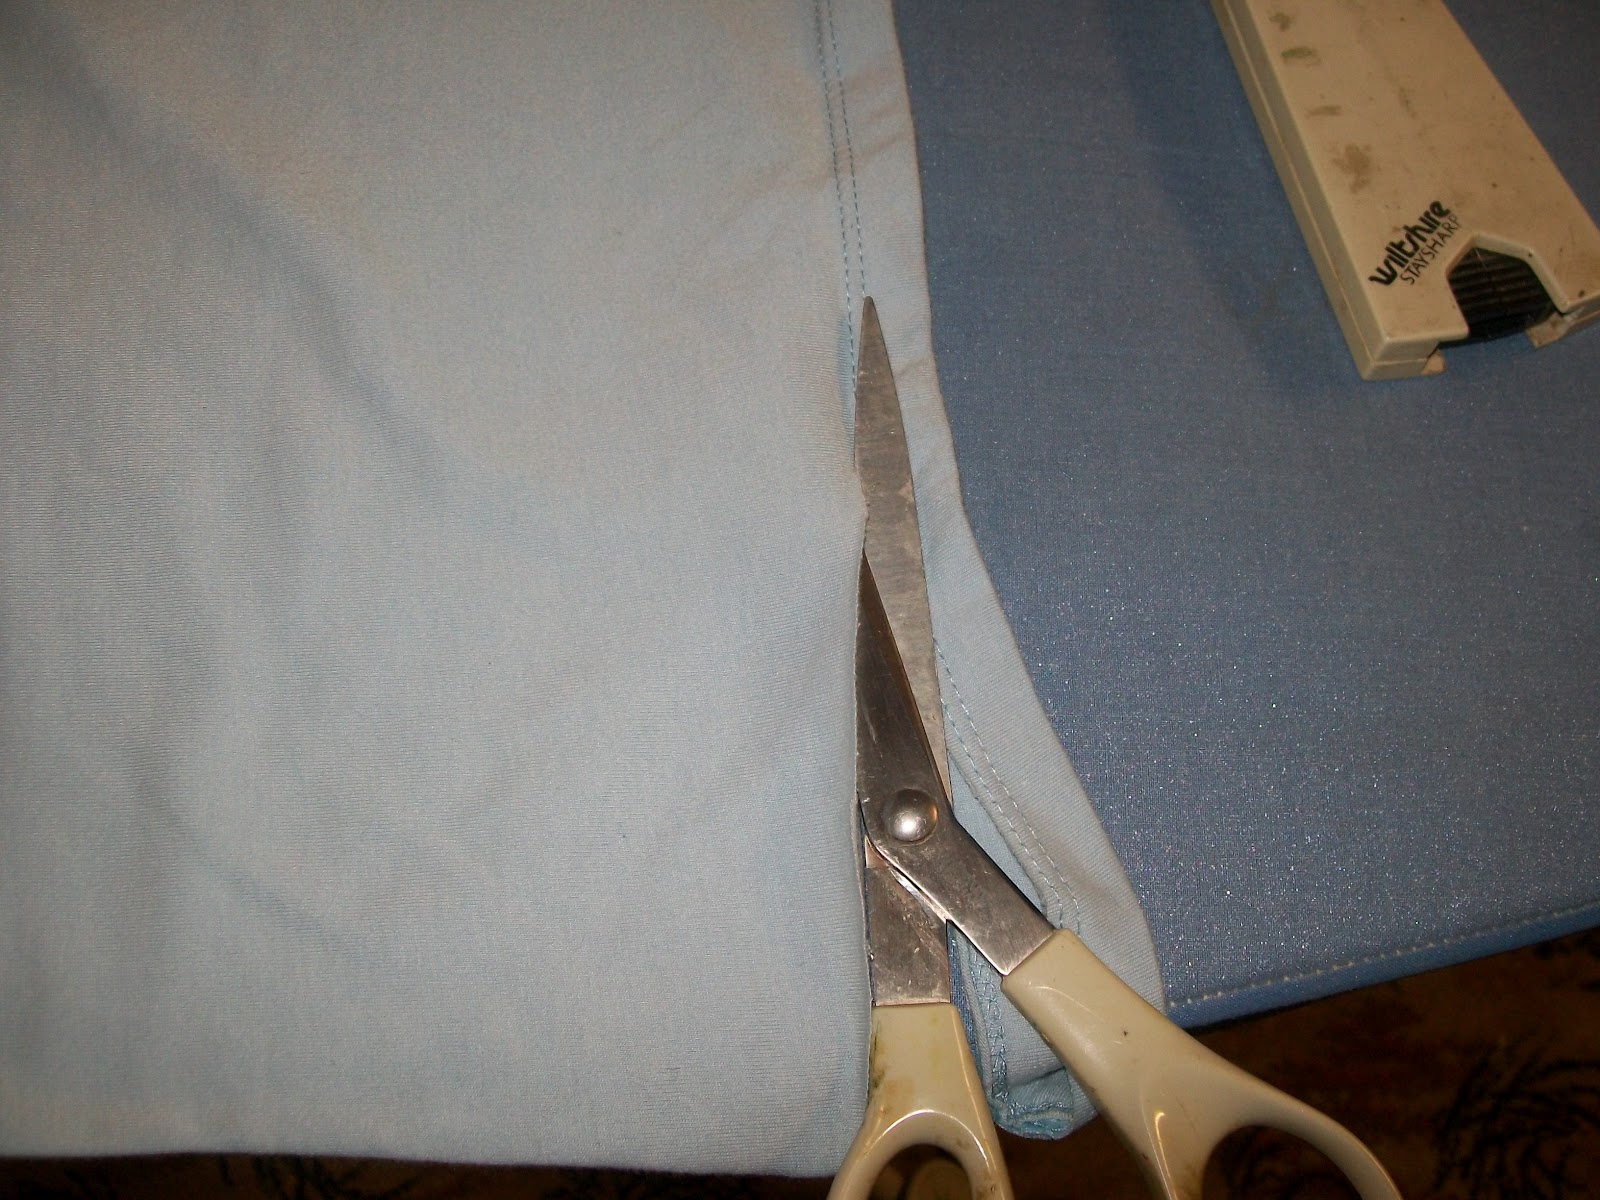
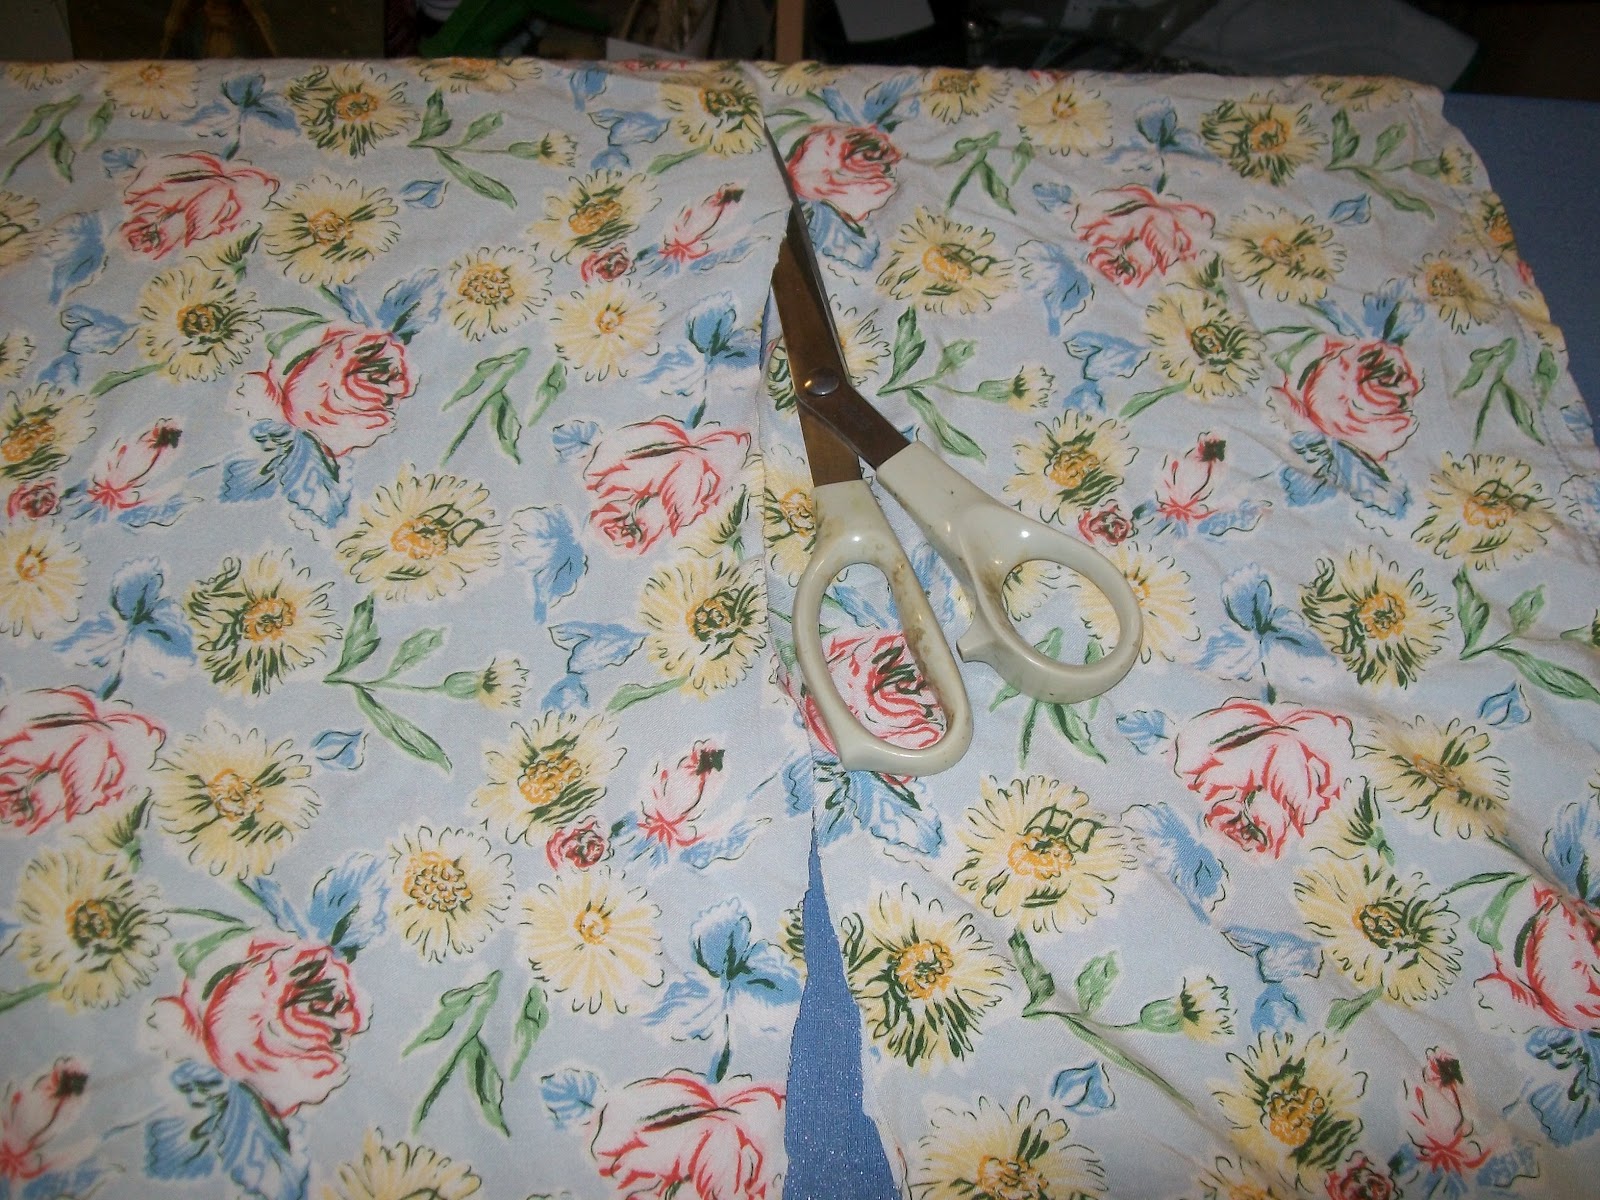
Then I cut the top off the skirt so it would lay out flat, and cut the bottom off the skirt to make the panels.  I took a little extra off the bottom in case I needed the fabric, but made sure the dress would still be knee-length.

I worked out how long I would have to cut the panels by measuring them against the laid-out shirt, bottom of the arm hole to a little bit past the bottom of the shirt.

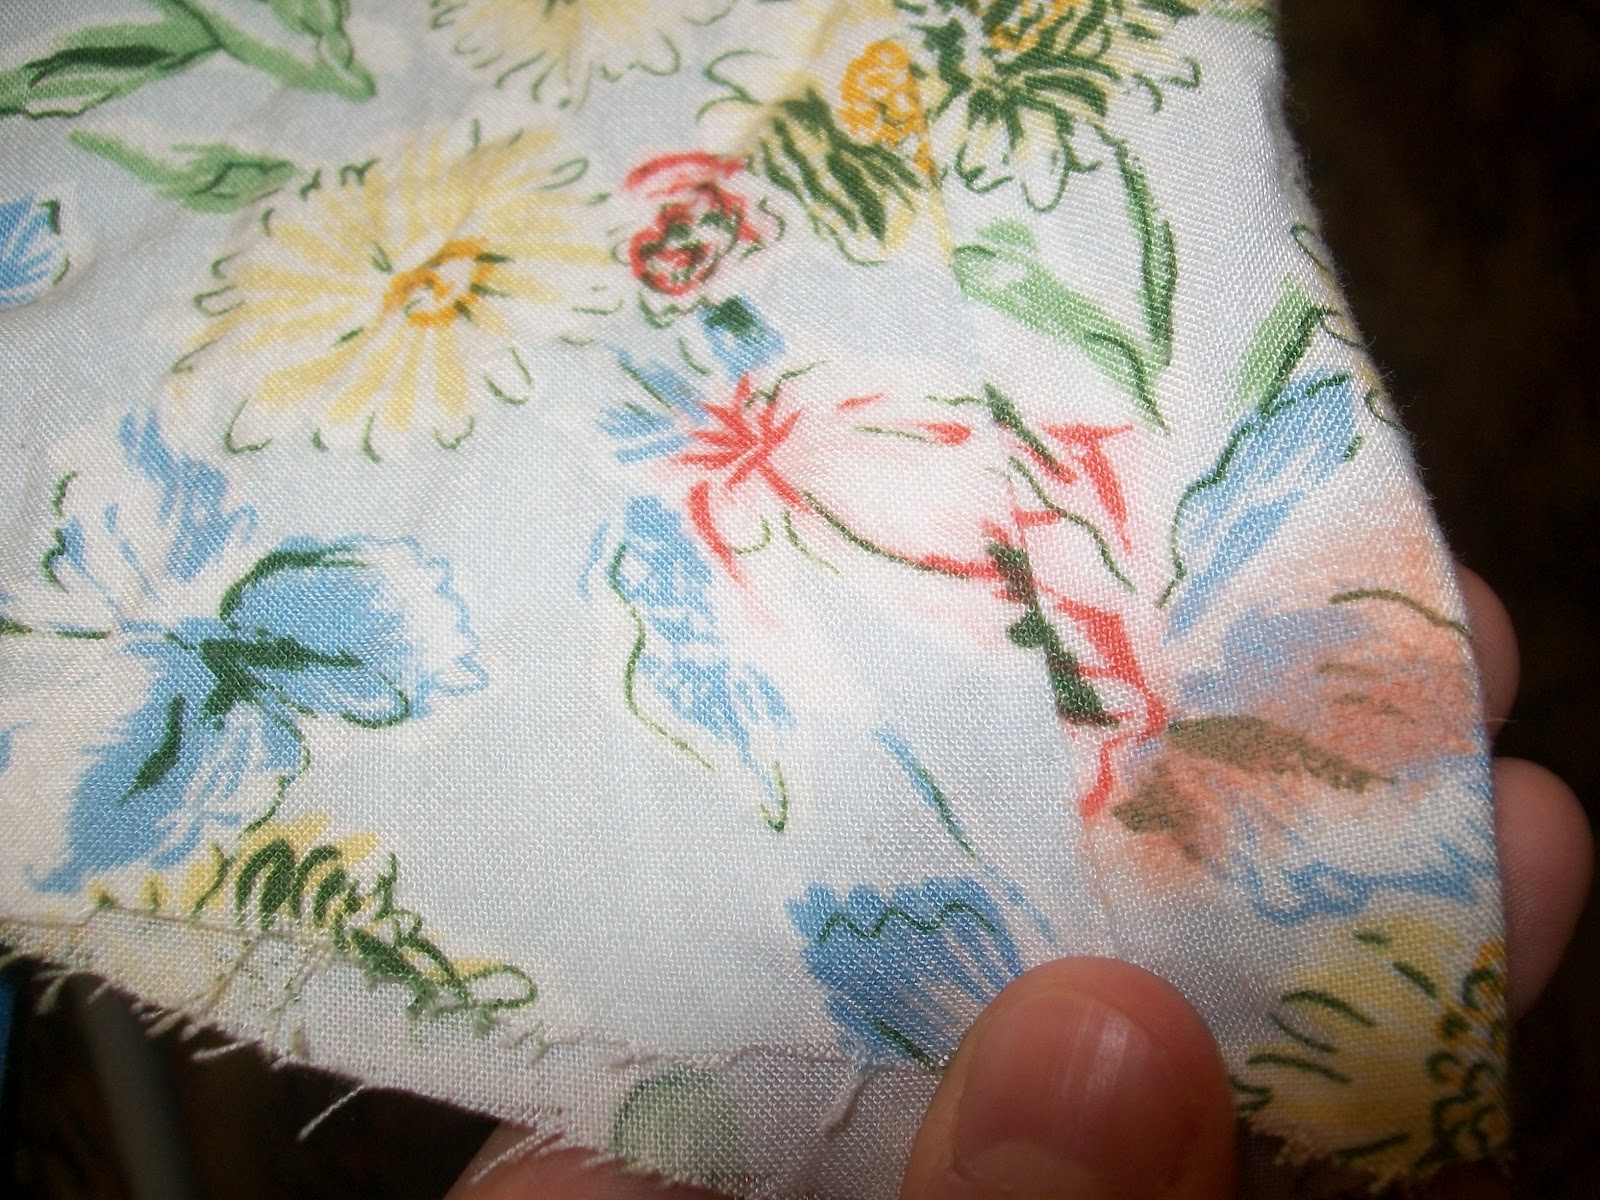
I hemmed the tops of my panels (which will make the bottoms of my armholes.  The rest of the armhole doesn't need to be hemmed, as the fabric doesn't fray) and pinned them to one side of the shirt, "faces" together.
I sewed both panels to the front of the shirt before sewing them to the back.  Sewing the second side was more fiddly, especially since I'd used extra "in case" fabric, but it looked like this:
And like this on:
Which is certainly an improvement!  But now to make it a dress!

I pinned and sewed the front of the skirt first, rather than just go all the way around, as the skirt has two pockets on the front, and I wanted to keep them on the front, you see.

(front of the skirt sewn to front of the shirt.  About to sew the rest)

Next to hem the skirt.  I ironed it out as flat as possible and put a little chalk mark at the edge in line with the shortest part of my jagged cut.

(chalk mark)
I cut the bottom more evenly and turned the dress inside out over the ironing board.  I ironed and pinned the hem as per usual, and then proceeded to sew all the way around it.

As for that shirt hem I saved, it's a choker necklace, now.

And here's the finished dress!

It was actually quite fun to do, and I can say I made a dress by hand! :-D

Lots of love to you,

Cassandra Louise.

PS- I fixed up that button, too.  It now has a lovely back. :-)

Friday, 4 May 2012

I love my cup!

When I first wrote about my search for a reusable cup here, I promised a follow-up when I finally found one.
This is it!
I found one!

I found the perfect reusable travel cup!
(Please imagine beautiful flashing lights around that)

After all my deliberation, I didn't order one online, didn't get a Keep Cup (although I really like them and may get one in the future) I got one from my local supermarket.The reason I got it from the supermarket was, honestly, because it was there, and it was quite cheap.


This is my cup:
When I wrote the first post about reusable cups, I talked a lot about my reasons for wanting a reusable travel cup, but I didn't know you guys very well back then, so I left one little thing out:

I really wanted a cup with a lid so I could drink my morning cup of tea in the shower to save time, so to "test out" my cup, that's what I did.

My lovely cup of tea in the travel cup:

And the closest thing you'll get to proof that I had a cup of tea in the shower:

Of course that was all in fun.  The main reasons I wanted the travel cup were of course waste reduction and my fidgety personality, and so I present to you beautiful, wonderful, fluffy cafe hot chocolate in my reusable travel cup!
And I did indeed leave the cafe before I was finished and take it with me.  It was a wonderful feeling, and I was the only person walking down Adelaide St in Maryborough drinking hot chocolate. :-D

My travel cup lives in the wonderful world of my handbag (no picture of that, I don't want to scare you guys!) so I always know I have it with me... unless it's in the washing up.  Hmmm... I really need two... :-/

I love you almost as much as I love that sprinkly chocolatey stuff,
Cassandra Louise.

Monday, 23 April 2012

Reduce, Reuse, Etcetera and So Forth...

Hey internet, do you know what the best thing about this fridge magnet is?
It's not that I made it myself, nor is it my delightfully simplistic cityscape (taken from a vivid memory of my childhood) although those are both really awesome qualities.

The best thing about this fridge magnet is that it started it's life as some newspaper and one of these:
I stopped one day and thought about how many plastic gift cards and the like I throw out in a year, because they aren't recyclable, regular rubbish is the only place for them.  I figured I must throw out about twenty cards every year, just on my own.  I know that's a high number, but I basically buy as much as I can with gift cards, which I usually win or earn by clicking things or doing other menial things online.

The awesomeness that is free groceries gave way in my heart to overwhelming plastic guilt and I decided that something beautiful must be made from these cards.

What's flat and gift-card-sized?  Magnets!  That's what!  And I already quite enjoy making fridge magnets, and have lots of magnetic strips.  Another plus to using gift cards as the base to my magnets is that I won't be buying sheets of plastic and sheets of canvas anymore (at least not for these) so there's even less waste, as all those materials come in plastic packaging.

I've put a shout out to my family and friends to send me their empty, expired, whatever plastic cards, and as I finish each magnet I will be putting it in my Etsy shop, here.

I would love to here about some of your reduce, reuse, recycle art and craft ideas, too!

Lots of Love,

Cassandra Louise.

Tuesday, 28 February 2012

Op Shop Finds

Hi everyone!  I know I've been gone a while, but I'm back now, hooray!  Since I wrote this rather serious post about op shops, I thought I'd take the time to write a fun one, with pictures (yay!  Pictures!) and so have been running around my house all day looking for things I know were bought at op shops.

I took photos of my favourite bargains, things like:

awesome piratey bandana (50 cents)
Queen bed doona cover - it says "LOVE", not "OVE", but my fence is only so tall ($4)
This bowl, and also
this bowl (20 cents each)
This handbag, which I carried for my school formal ($2.50 without the dog on it, I added that myself)
Patchwork book ($1)
This scarf ($1).  One dollar!  I like a good big scarf, very versatile, but this is extra amazing because
silk and also made in France! ... I'm not normally excited by things like that, let me have this one.
Delightful winter coat ($10) I'm not wearing it today as it's well over thirty degrees in here...
$5 outfit ($4.50 skirt, 50 cent top)

And possibly my very favourite op shop find of all time, saved until last especially...
This cup and saucer set ($2.50 for the set!)

I've also bought many books for as little as 20 cents each, PC games for $1 and CDs for 50 cents.  I've bought pairs of shoes for $3 and hats for $2.

What's your favourite op shop find?

Signed with love,
Cassandra Louise.