Showing posts with label refashion. Show all posts

Monday, 18 May 2015

Making Good Blog Train: Repairing my upcycled dress

This post is part of a blog train hosted by Agatha from Green Issues by Agy on "Making Good". What is repair, and why do we even bother to repair the things we have?  Some see repair as a way of reconnecting with our possessions as we extend their lives. Others see it as a form of creative potential and an avenue to express their craft.  The rewards for mending varies from feeling immense satisfaction to prolonging the life of the product. Follow the “Making Good” blog train this month and see what we have repaired and reconnected with. Have you mended anything today?

You can catch the train here!
~~~

On Saturday we saw Kathy over at Smile For No Reason show us how to reupholster a chair. I've bookmarked that one!
I was supposed to be Sunday's post, but I got confused about dates and didn't have my post prepared until this morning.
I've gone with something simple but important to me.
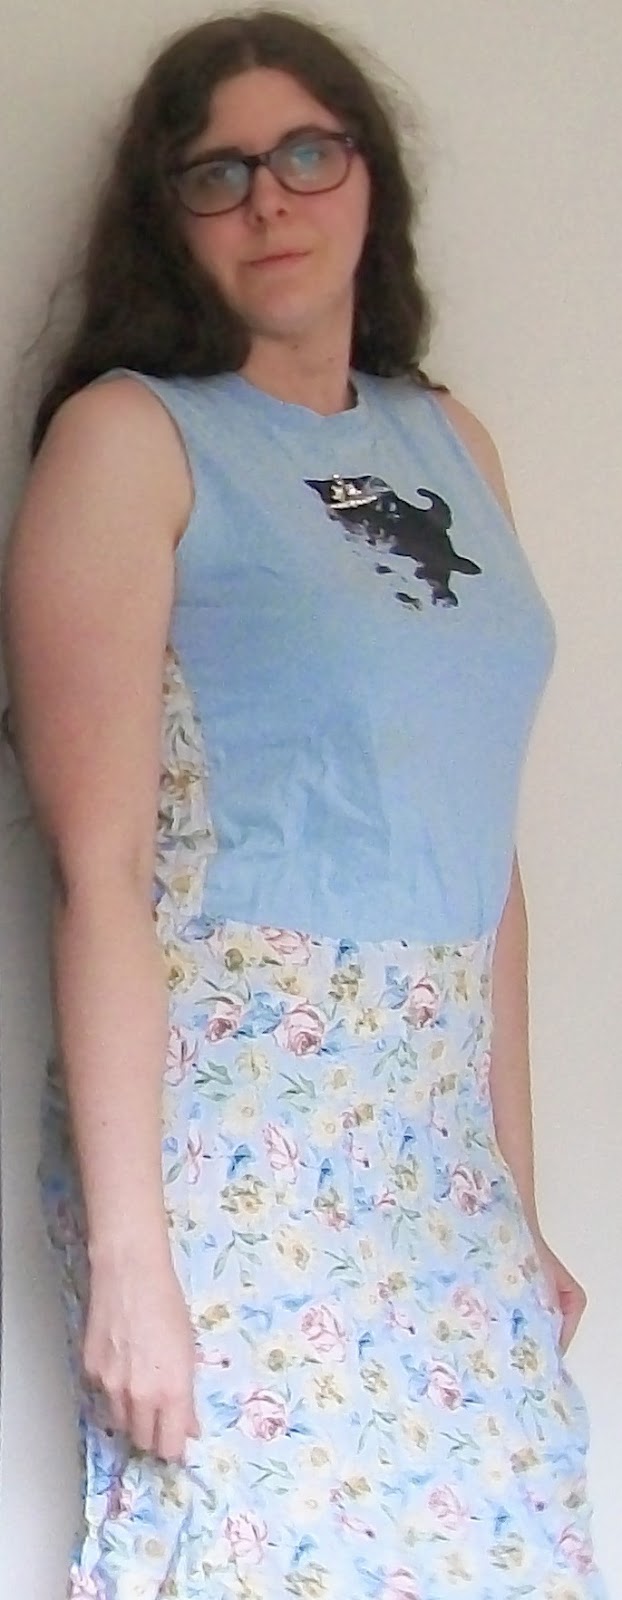
If you've followed me for a long time, or you're a blog binge-reader, you may remember my first ever refashion project in which I upcycled a favourite but too small shirt and a lovely skirt into a dress so I could continue wearing them both.

You may also recall I sewed this project by hand as I didn't have access to a sewing machine and I'd had bad experiences with sewing machines anyhow.
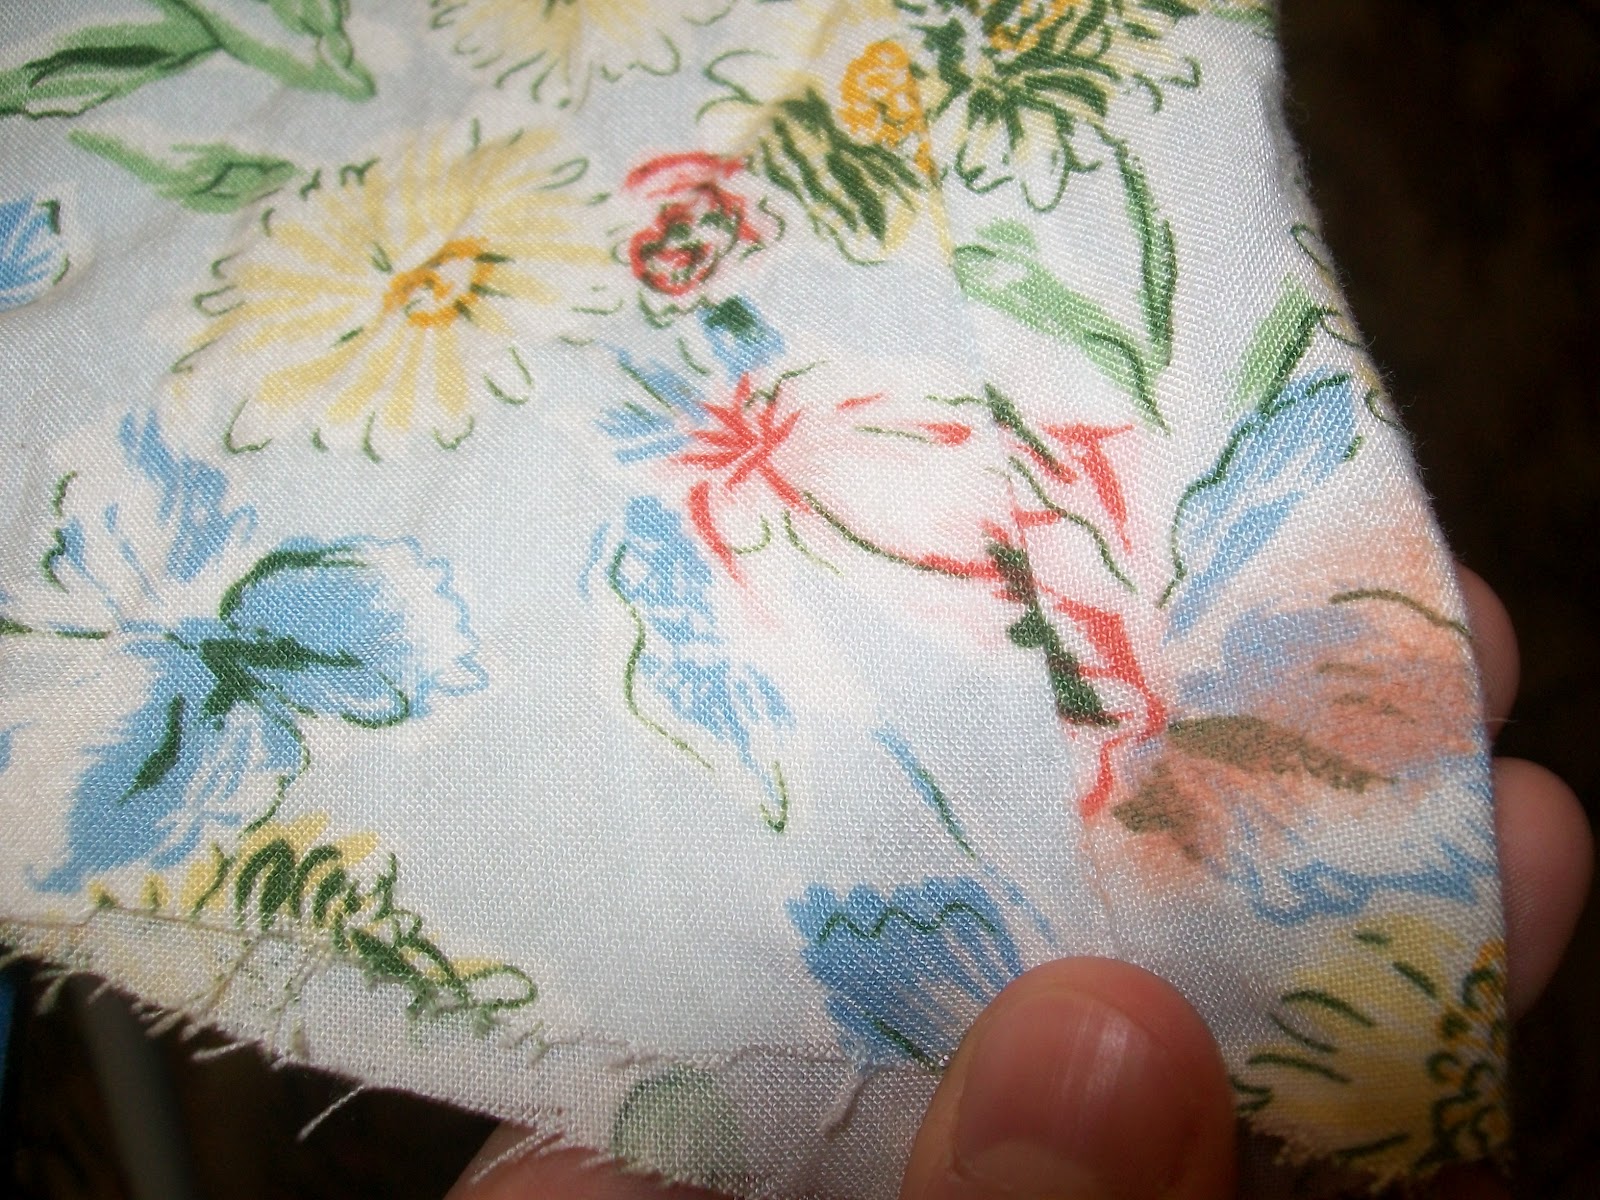
Well, I've learned sewing machines have their virtues! I only wore my new dress a handful of times and one of my seams came apart in the wash.

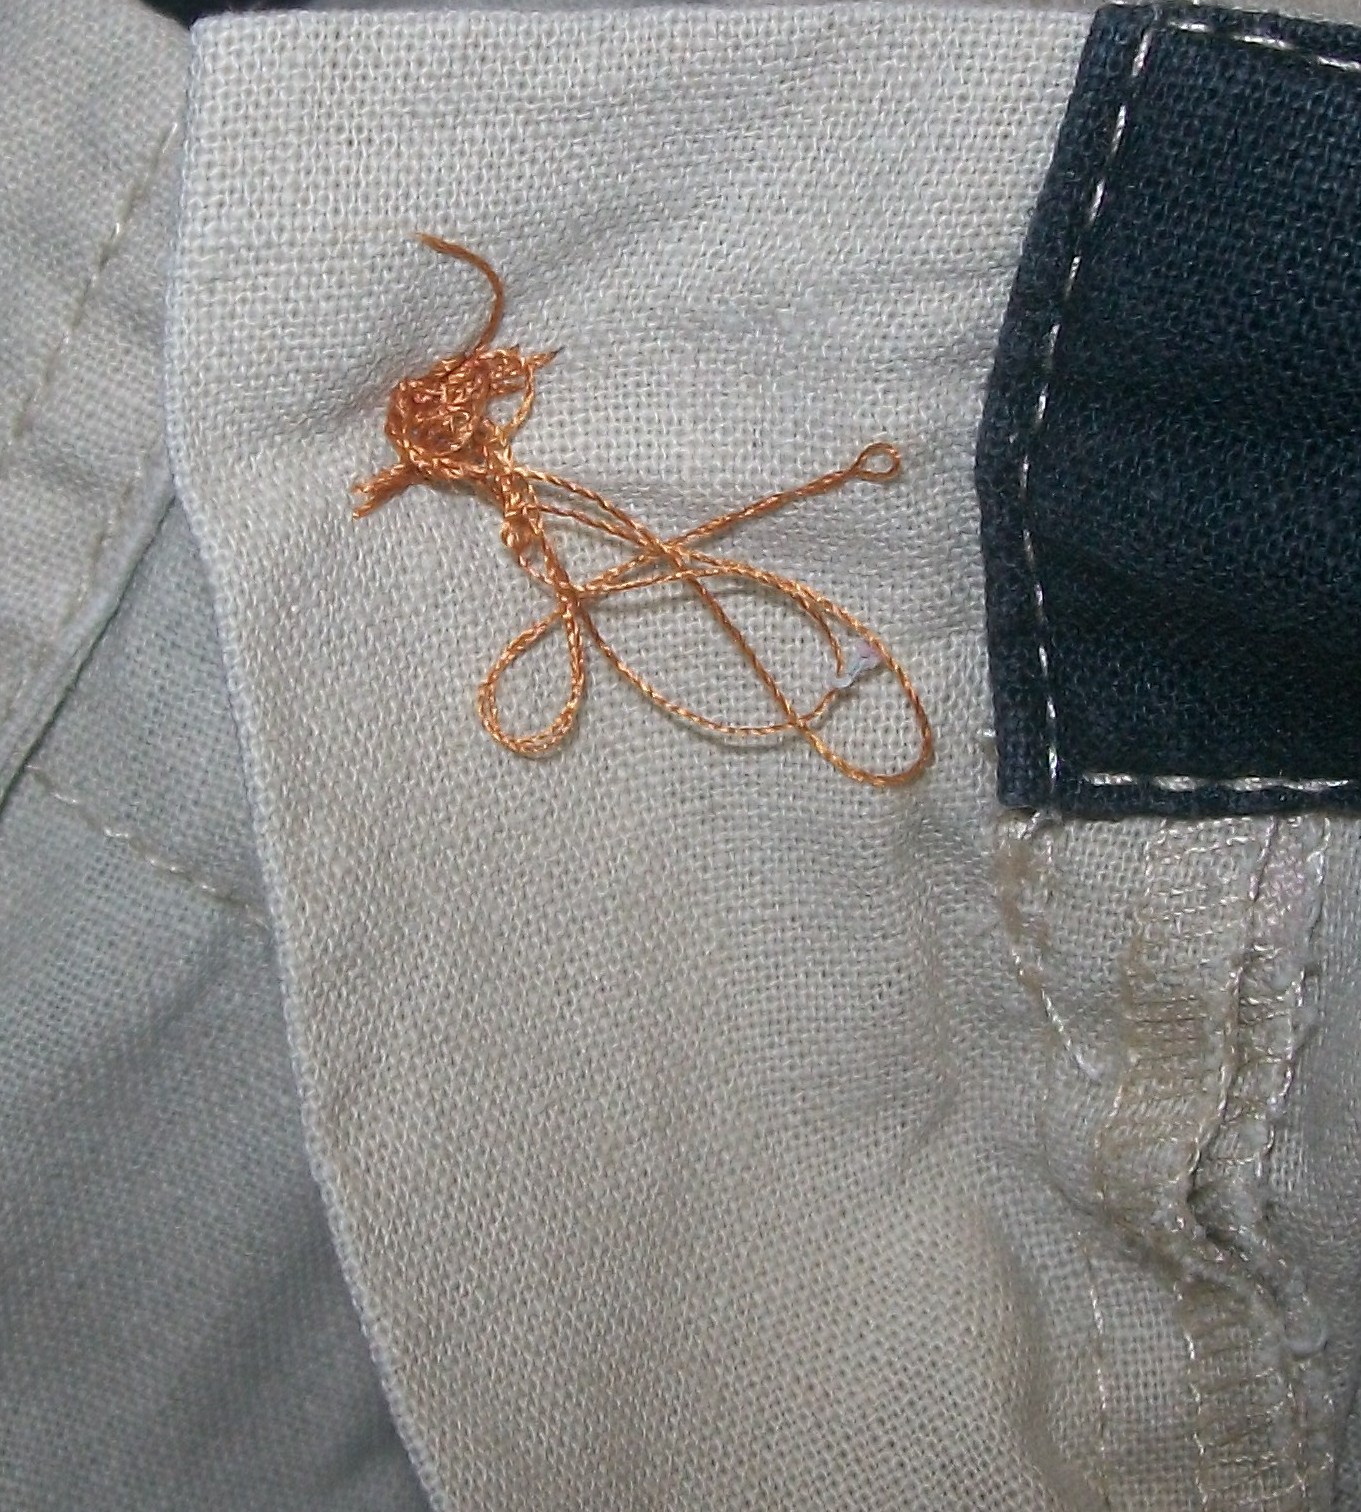
It's really very tatty. BUT LOOK! :-D
I've had this sewing machine a while now and I really haven't given it many jobs, but I have one for it today! This should be an easy repair as the seam is only torn half way and so it shouldn't need to be pinned, it will hold itself.

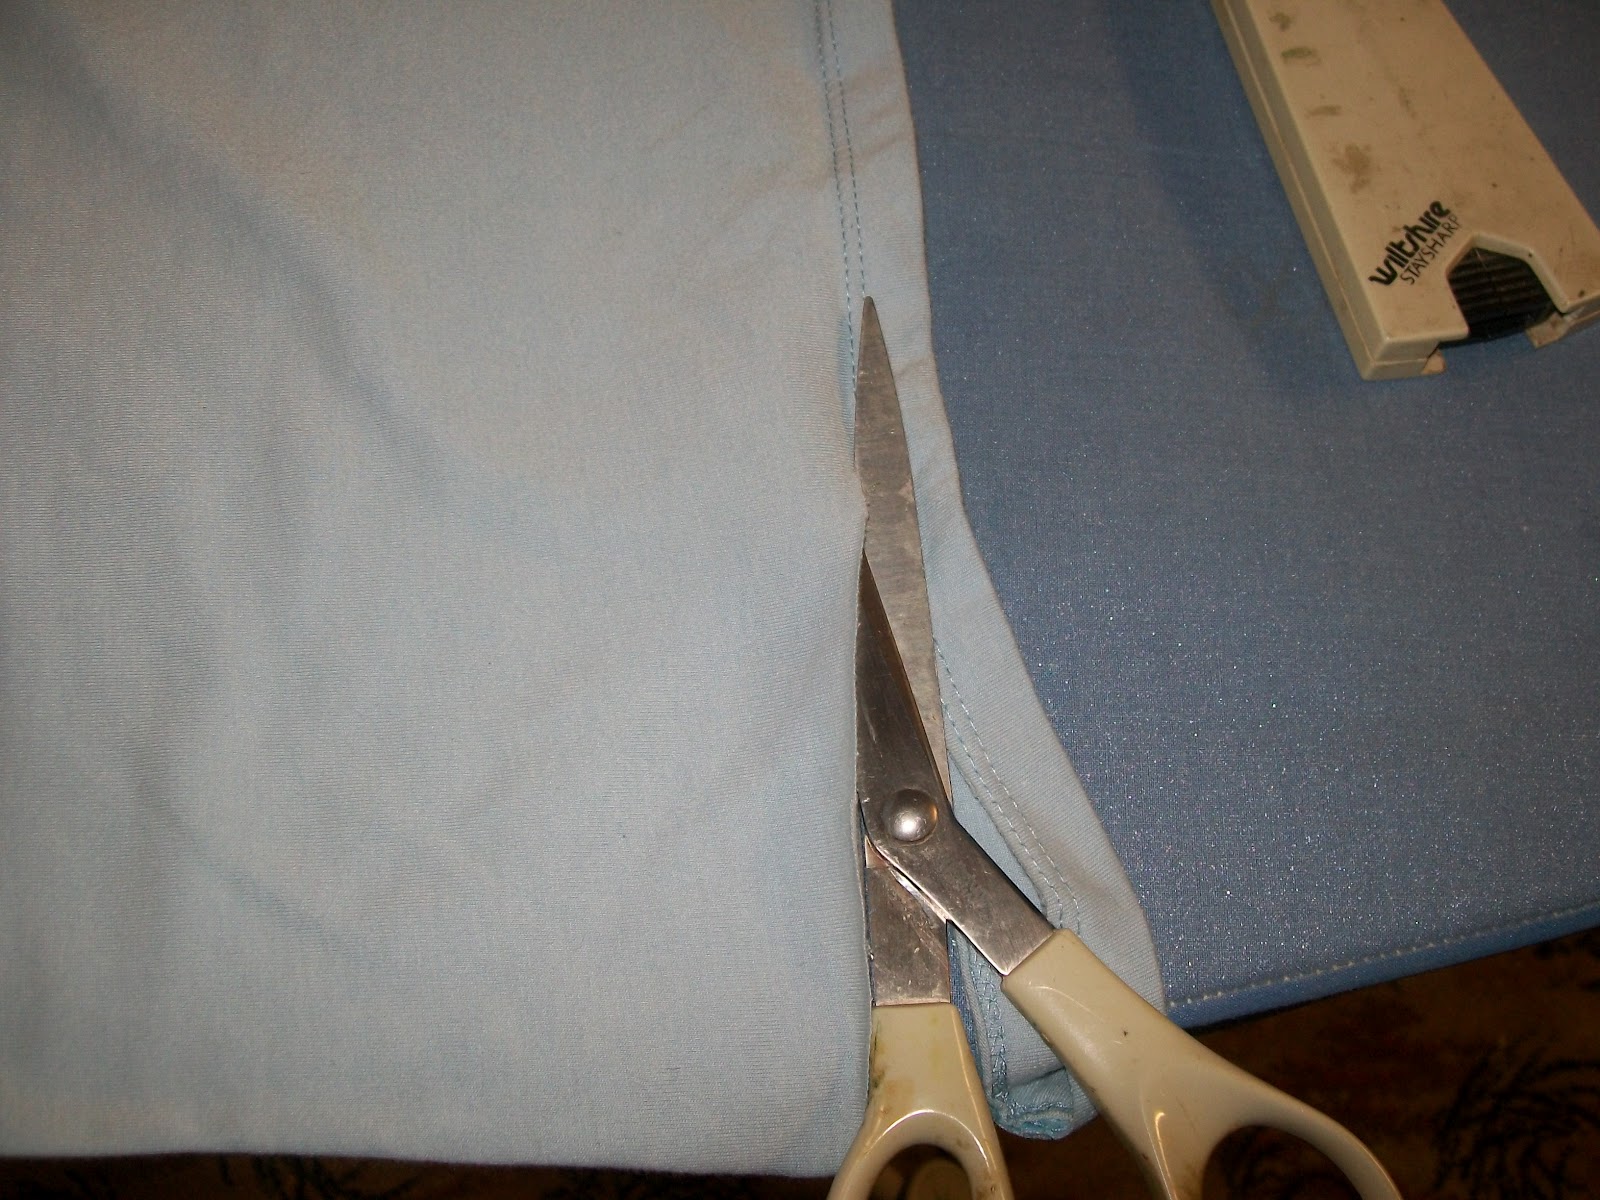
I turned the dress inside out:
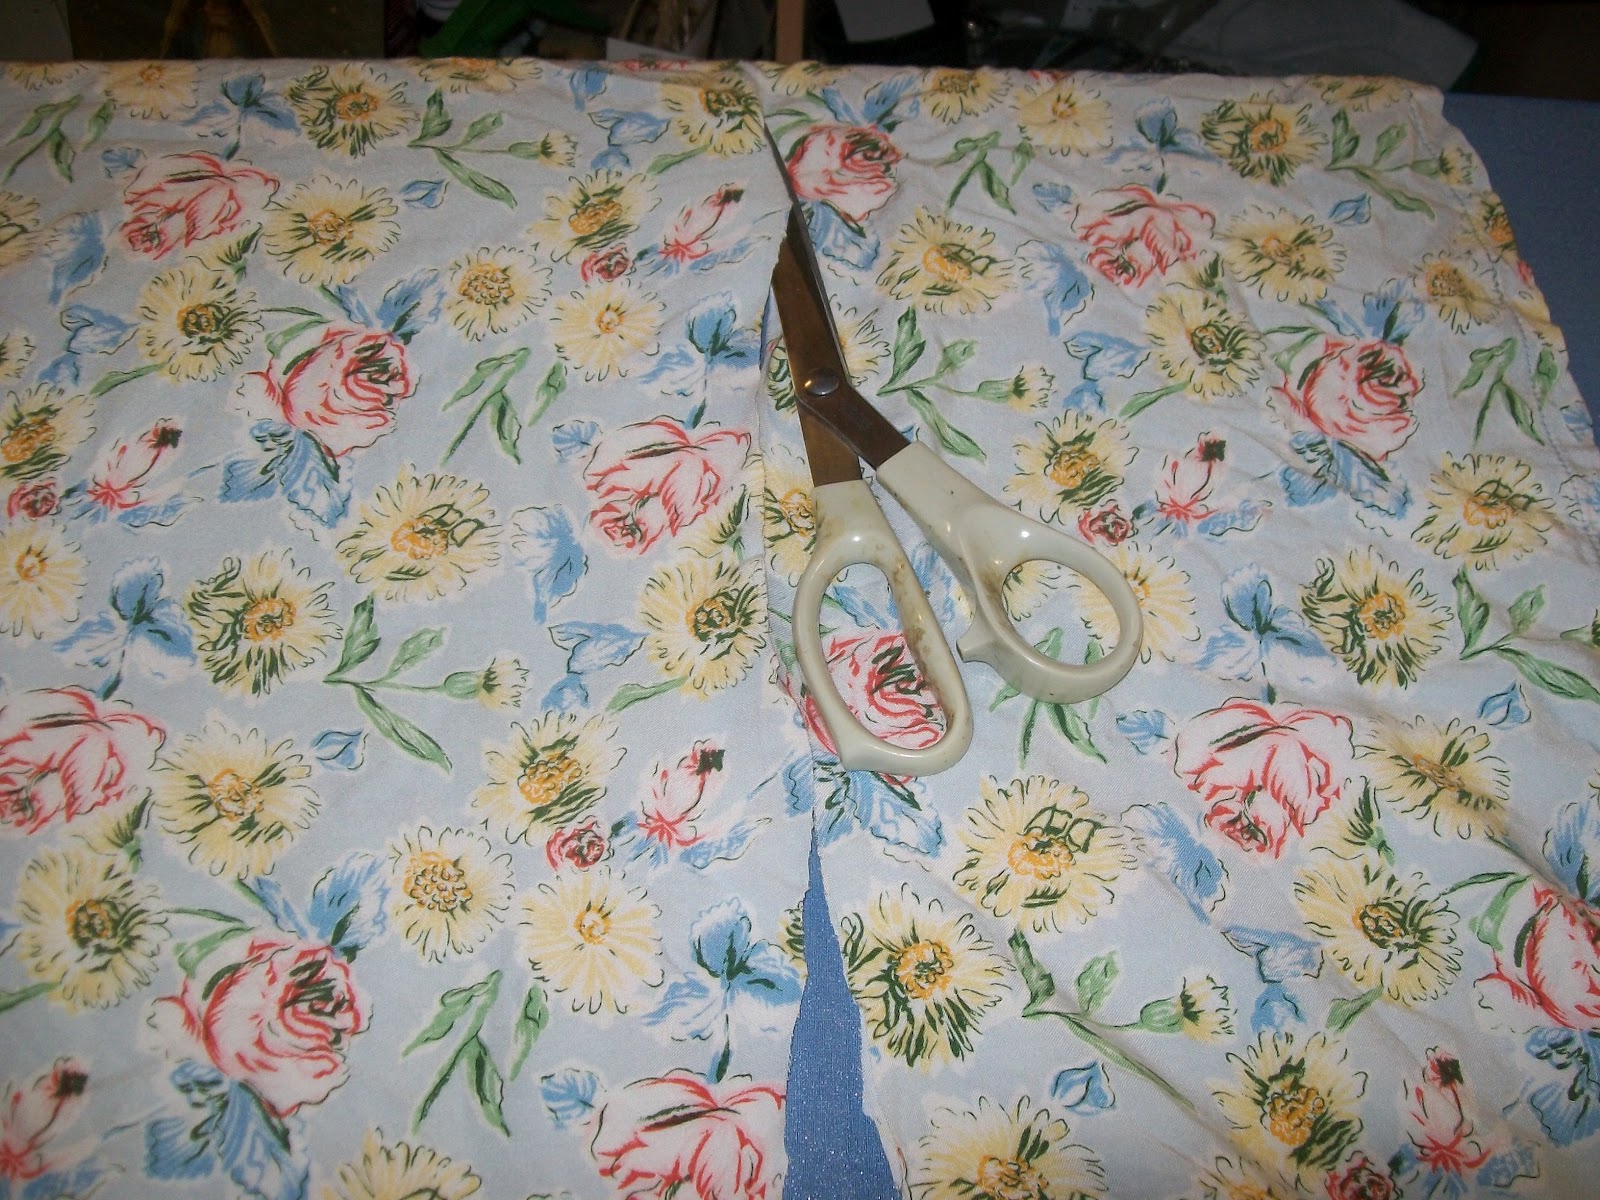
And tucked the top of the dress into the skirt, so I could just sew around the outside:
Now I can wear my lovely dress again!
For our next stop on the Blog Train, we're heading over to Maegan at Mae & K, who'll be adding her post to the train tomorrow, the 19th. I hope you've found this post useful or interesting! :-)

Happy Mending!
Cassandra Louise.

Thursday, 30 January 2014

There Is Something Very Special About This Chair...

There is something very special about this chair, and it's not just that it's holding my birthday presents until I open them tomorrow.
 Here, I'll take those off so you can see it properly.
Actually, there's a lot of special things about this chair.  First thing is, there's only one of it, which, if it's not to your taste, you're probably glad to hear.  I can see it's a chair you either love or hate on sight.
The second special thing about this chair is that I rescued it.  Technically, I rescued it twice.  I made it; rather I put it together from two old chairs and some bits and bobs.
This is our story, mine and the chairs:
Many years ago now, I was not living somewhere safe and secure.  The only place I could find to rent at short notice and without getting rid of most of the few things I had was actually a storage space under an old style high set house.  I could use their kitchen and bathroom at least but to say my room was a "bedroom" is a joke.  It was a storage space.  It had an old lumpy bed and a little side table.  The floor was dirt and the floor of the house above was unsealed so my wake up call every morning was sand and grit raining down on my face from above as the little girl of the house ran around getting ready for school.  There was no electric light, I had a small battery powered one but not enough to read or study by.  There was a wardrobe of sorts, but it had no doors.
But then, one day, my favourite thing ever happened: Hard Rubbish Collection!  You guys, it's like an op shop but it's free and on everyone's lawn, as if you didn't know I'd love that!
I saw the blue chair frame in my immediate neighbour's pile.  I saw it had no seat.  I stroked the chair frame and told it "I wish I could fix you, then I could keep you and save you.  I'll save myself one day." because paying actual money to live in a storage space drives you a little bit batty.
For two days I thought about that lovely chair frame.  I liked the colour and the shape.
Then, the day before pickup in my area, I went out for a walk.  I decided to go down a street I'd never been down before, just to see what was there.  That's when I saw it: a clinical, boring-looking ubiquitous metal chair with it's seat detached.  The seat was not exactly pretty, but it was intact and functional, so I grabbed it, along with a bag of coat hangers to get my clothes out my suitcase and in the "wardrobe".
I took it back to my room and then went and grabbed the frame.  I sat the seat on the chair and looked at it.  It fit!  I planned to go to an op shop the next day and buy some fabric or an old sheet or something to decorate it a bit.  It was about five o'clock by now so all the op shops were closed.
But the more I looked at it, the more I had to fix it absolutely now!  I opened my wallet to see if I could afford KMart.  $20.  It'll have to do, I had a chair to save!
I bought a pink single bed sheet to cover the seat, a hammer and nails to hold all the bits together and on my way out, the craft section caught my eye.  I thought it would be nice if I could tie-in the delicate blue of the chair with the bright pink of the seat somehow.  I bought some pastel coloured paints and some butterfly decals and ended up making this design:
I finally had a little colour in my life!  With no garden and no electric lighting, this is what I needed!
I was never quite able to fix the seat on properly.  It held for a bit, but came loose again.
But it's a very comfortable seat, and if you sit still, you'd never notice.
There is something very special about this chair.
Signed with love and hope,
Cassandra Louise.

Tuesday, 31 December 2013

Some of my Favourite Op Shop Posts

For the purpose of this post and others like it I may do in the future, "op shop" will mean op shop, thrift store, secondhand shop, true vintage shop and any other place you may get "pre-loved" clothing, toys and homewares, including online.  I fished some really fantastic things out of the bin at a sharehouse I was living at, once, and I am extending "op shop" to include things like that, too.

This post is essentially a list of blog posts which I have found especially inspirational or inspiring.  In some cases I searched through many posts by a particular blogger to find just the right one, in some cases I knew exactly what post I wanted to feature before I even started.  I hope from here you get some wonderful, inspirational ideas!
They are in no apparent order save for the order I found/rediscovered them.

First, a little shameless self-promotion with this post of my own: Things You May Not Know About Charity Op Shops

2. This post about clothes swapping by Agy: Have You Been To A Fashion Swop?

3. Thrifted maternity wear with Erica: Human Friendly Fashion Blogger Outfit- Maternity Edition

4. This one at I Love To Op Shop, in which I quite like the ugly clock: How Ugly is my Clock?

5. This adorable collection by Op Shop Mama, as I'm a sucker for a kid's xylophone: But Wait, There's More!

6. This one by Ali, because she opens with a delightful pun: Confessions of a Serial Shopper

If you enjoy reading these, let me know.  I would love to make another list for you.  Lists are cool.
I was a bit sad that some of my all-time favourites are from blogs that have been taken down.  Boo! :-( Lots of gems here though, all from blogs that are still up and have a lot of interesting content. :-)

Do you have a favourite op shop post or thrift blog?

Signed with love,
Cassandra Louise.

Thursday, 17 January 2013

Shameless self-promotion

Hello lovelies!  I know I haven't been here for a while, but I'm hoping you still love me...


Yes, I want something from you.


Don't worry, you don't have to vote.


I would like you to visit my shop-blog here and see if there's anything you would like to buy, maybe follow the blog and see what is added in the future.

Everything is handmade by me and I use as many recycled/upcycled bits as I can.  I have an Etsy shop here with lots of things (ok, 28 things) in it, and I am moving the whole thing to my shop-blog (blog-shop?  someone confirm!).

Basically, if you could drop by and make me feel popular, that'd be great; if you feel moved to buy something from my Etsy shop or my blog shop, that would be most marvellous!

Signed with love,
Cassandra Louise.

Monday, 14 May 2012

My first ever refashion project!

(Remember to click on pictures to see them better)
On a sunny day down town a few short years ago (ok, so they were regular-length years) I bought this T-shirt, which I still really love to this day.  It's impossible not to love it, it has a little kitty-cat wearing a tiara on it.
(it is a fact that adorable kitten is adorable)

There's one problem with this shirt now:
As I'm not desperately seeking a date to a high school dance, I think it's a little tight...

My first thought was to cut the kitten off and sew it on a new shirt, but then I thought about all that wasted fabric, and so I decided I'd just make the shirt a little bigger.  I thought I could take the sleeves off and put some panels of fabric in the sides.
I proceeded to look through my fabric boxes, but I couldn't find anything large enough that was the right colour and cotton or similar to cotton.
Then I thought to go through my old clothes.  I have two bags of clothes that I thought needed minor repairs before heading to the op shop.  In the first bag, I found this skirt.
It's a children's size 14, which means it's designed to be about ankle length on a twelve-year-old.  I always loved that skirt, and it's the same shade of blue as my kitten shirt, so here's my chance to preserve both!  I'll make my kitten T-Shirt into a dress!

I was a bit nervous, as I'm good at using things for other purposes, but I wouldn't say I sew.
 This skirt is a dress.
This wheelbarrow is a baby's cradle, also it is full of plants.

 I also have a tablecloth poncho, a milkshake glass vase and shot glass candle holders, among other things...

But the last thing I sewed was this button:
Which looks great until you turn it over:
And I would be hand-sewing this dress, as I don't have a machine (and don't really like them).

But I set forth!  First, I cut the hem off the shirt, for easy unpicking.  I kept the hem, because you never know when you'll need bits in art and craft.


Next I prepared the shirt by unpicking the side seams and unpicking the sleeves:

Next I put the shirt on to work out how much of the skirt fabric I would need for the panels.
Then I cut the top off the skirt so it would lay out flat, and cut the bottom off the skirt to make the panels.  I took a little extra off the bottom in case I needed the fabric, but made sure the dress would still be knee-length.

I worked out how long I would have to cut the panels by measuring them against the laid-out shirt, bottom of the arm hole to a little bit past the bottom of the shirt.

I hemmed the tops of my panels (which will make the bottoms of my armholes.  The rest of the armhole doesn't need to be hemmed, as the fabric doesn't fray) and pinned them to one side of the shirt, "faces" together.
I sewed both panels to the front of the shirt before sewing them to the back.  Sewing the second side was more fiddly, especially since I'd used extra "in case" fabric, but it looked like this:
And like this on:
Which is certainly an improvement!  But now to make it a dress!

I pinned and sewed the front of the skirt first, rather than just go all the way around, as the skirt has two pockets on the front, and I wanted to keep them on the front, you see.

(front of the skirt sewn to front of the shirt.  About to sew the rest)

Next to hem the skirt.  I ironed it out as flat as possible and put a little chalk mark at the edge in line with the shortest part of my jagged cut.

(chalk mark)
I cut the bottom more evenly and turned the dress inside out over the ironing board.  I ironed and pinned the hem as per usual, and then proceeded to sew all the way around it.

As for that shirt hem I saved, it's a choker necklace, now.

And here's the finished dress!

It was actually quite fun to do, and I can say I made a dress by hand! :-D

Lots of love to you,

Cassandra Louise.

PS- I fixed up that button, too.  It now has a lovely back. :-)