I'm still here and still happy. I moved house recently and would like to be settled in properly before I start blogging regularly (my version of regularly) again, but I thought I'd check in and say hello. :-)
Lots of love,
Cassandra Louise.
Friday, 25 May 2012
Monday, 14 May 2012
My first ever refashion project!
(Remember to click on pictures to see them better)
On a sunny day down town a few short years ago (ok, so they were regular-length years) I bought this T-shirt, which I still really love to this day. It's impossible not to love it, it has a little kitty-cat wearing a tiara on it.


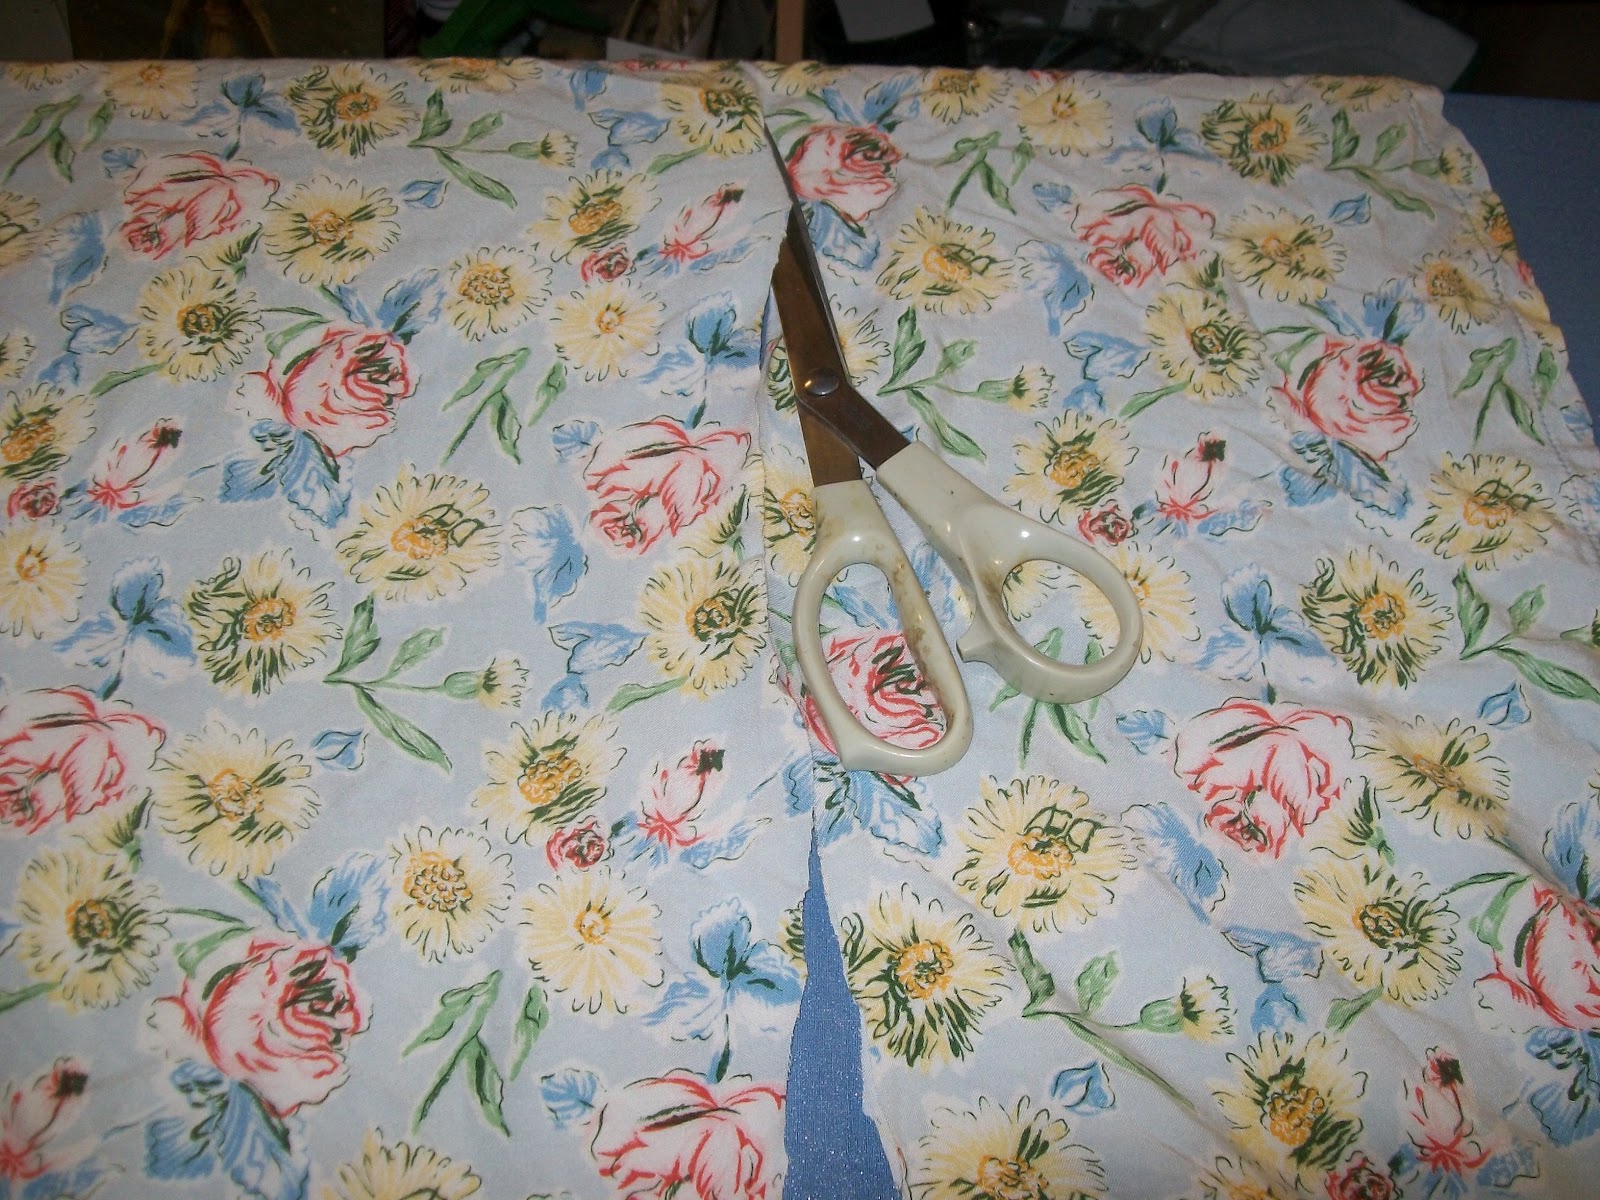
 Then I cut the top off the skirt so it would lay out flat, and cut the bottom off the skirt to make the panels. I took a little extra off the bottom in case I needed the fabric, but made sure the dress would still be knee-length.

 I worked out how long I would have to cut the panels by measuring them against the laid-out shirt, bottom of the arm hole to a little bit past the bottom of the shirt.
I hemmed the tops of my panels (which will make the bottoms of my armholes. The rest of the armhole doesn't need to be hemmed, as the fabric doesn't fray) and pinned them to one side of the shirt, "faces" together.
 I sewed both panels to the front of the shirt before sewing them to the back. Sewing the second side was more fiddly, especially since I'd used extra "in case" fabric, but it looked like this:
 And like this on:
 Which is certainly an improvement! But now to make it a dress!
I pinned and sewed the front of the skirt first, rather than just go all the way around, as the skirt has two pockets on the front, and I wanted to keep them on the front, you see.


As for that shirt hem I saved, it's a choker necklace, now.

And here's the finished dress!

 It was actually quite fun to do, and I can say I made a dress by hand! :-D
Lots of love to you,
Cassandra Louise.
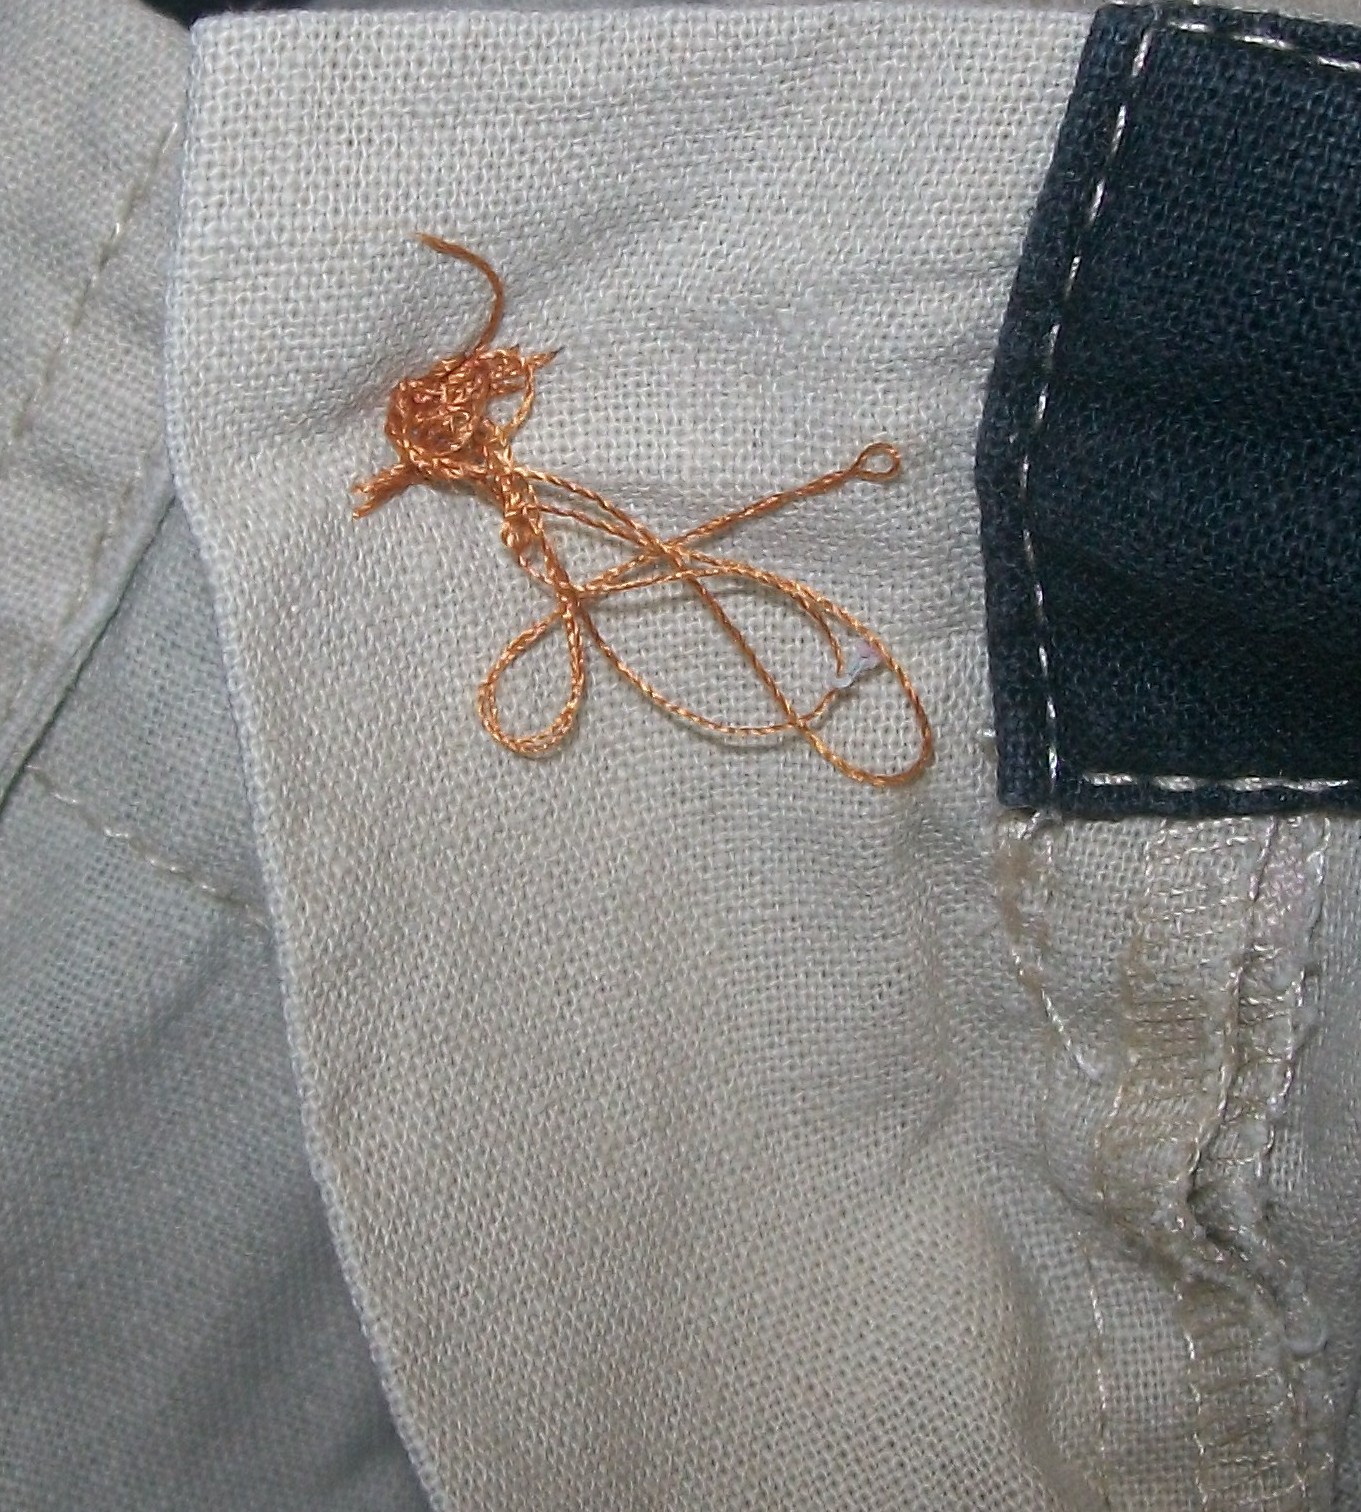
PS- I fixed up that button, too. It now has a lovely back. :-)
On a sunny day down town a few short years ago (ok, so they were regular-length years) I bought this T-shirt, which I still really love to this day. It's impossible not to love it, it has a little kitty-cat wearing a tiara on it.

(it is a fact that adorable kitten is adorable)
There's one problem with this shirt now:

As I'm not desperately seeking a date to a high school dance, I think it's a little tight...
My first thought was to cut the kitten off and sew it on a new shirt, but then I thought about all that wasted fabric, and so I decided I'd just make the shirt a little bigger. I thought I could take the sleeves off and put some panels of fabric in the sides.
I proceeded to look through my fabric boxes, but I couldn't find anything large enough that was the right colour and cotton or similar to cotton.
Then I thought to go through my old clothes. I have two bags of clothes that I thought needed minor repairs before heading to the op shop. In the first bag, I found this skirt.

It's a children's size 14, which means it's designed to be about ankle length on a twelve-year-old. I always loved that skirt, and it's the same shade of blue as my kitten shirt, so here's my chance to preserve both! I'll make my kitten T-Shirt into a dress!
I was a bit nervous, as I'm good at using things for other purposes, but I wouldn't say I sew.

This skirt is a dress.

This wheelbarrow is a baby's cradle, also it is full of plants.
I also have a tablecloth poncho, a milkshake glass vase and shot glass candle holders, among other things...
But the last thing I sewed was this button:

Which looks great until you turn it over:
And I would be hand-sewing this dress, as I don't have a machine (and don't really like them).
But I set forth! First, I cut the hem off the shirt, for easy unpicking. I kept the hem, because you never know when you'll need bits in art and craft.

Next I prepared the shirt by unpicking the side seams and unpicking the sleeves:


Next I put the shirt on to work out how much of the skirt fabric I would need for the panels.


I hemmed the tops of my panels (which will make the bottoms of my armholes. The rest of the armhole doesn't need to be hemmed, as the fabric doesn't fray) and pinned them to one side of the shirt, "faces" together.


I pinned and sewed the front of the skirt first, rather than just go all the way around, as the skirt has two pockets on the front, and I wanted to keep them on the front, you see.

(front of the skirt sewn to front of the shirt. About to sew the rest)
Next to hem the skirt. I ironed it out as flat as possible and put a little chalk mark at the edge in line with the shortest part of my jagged cut.

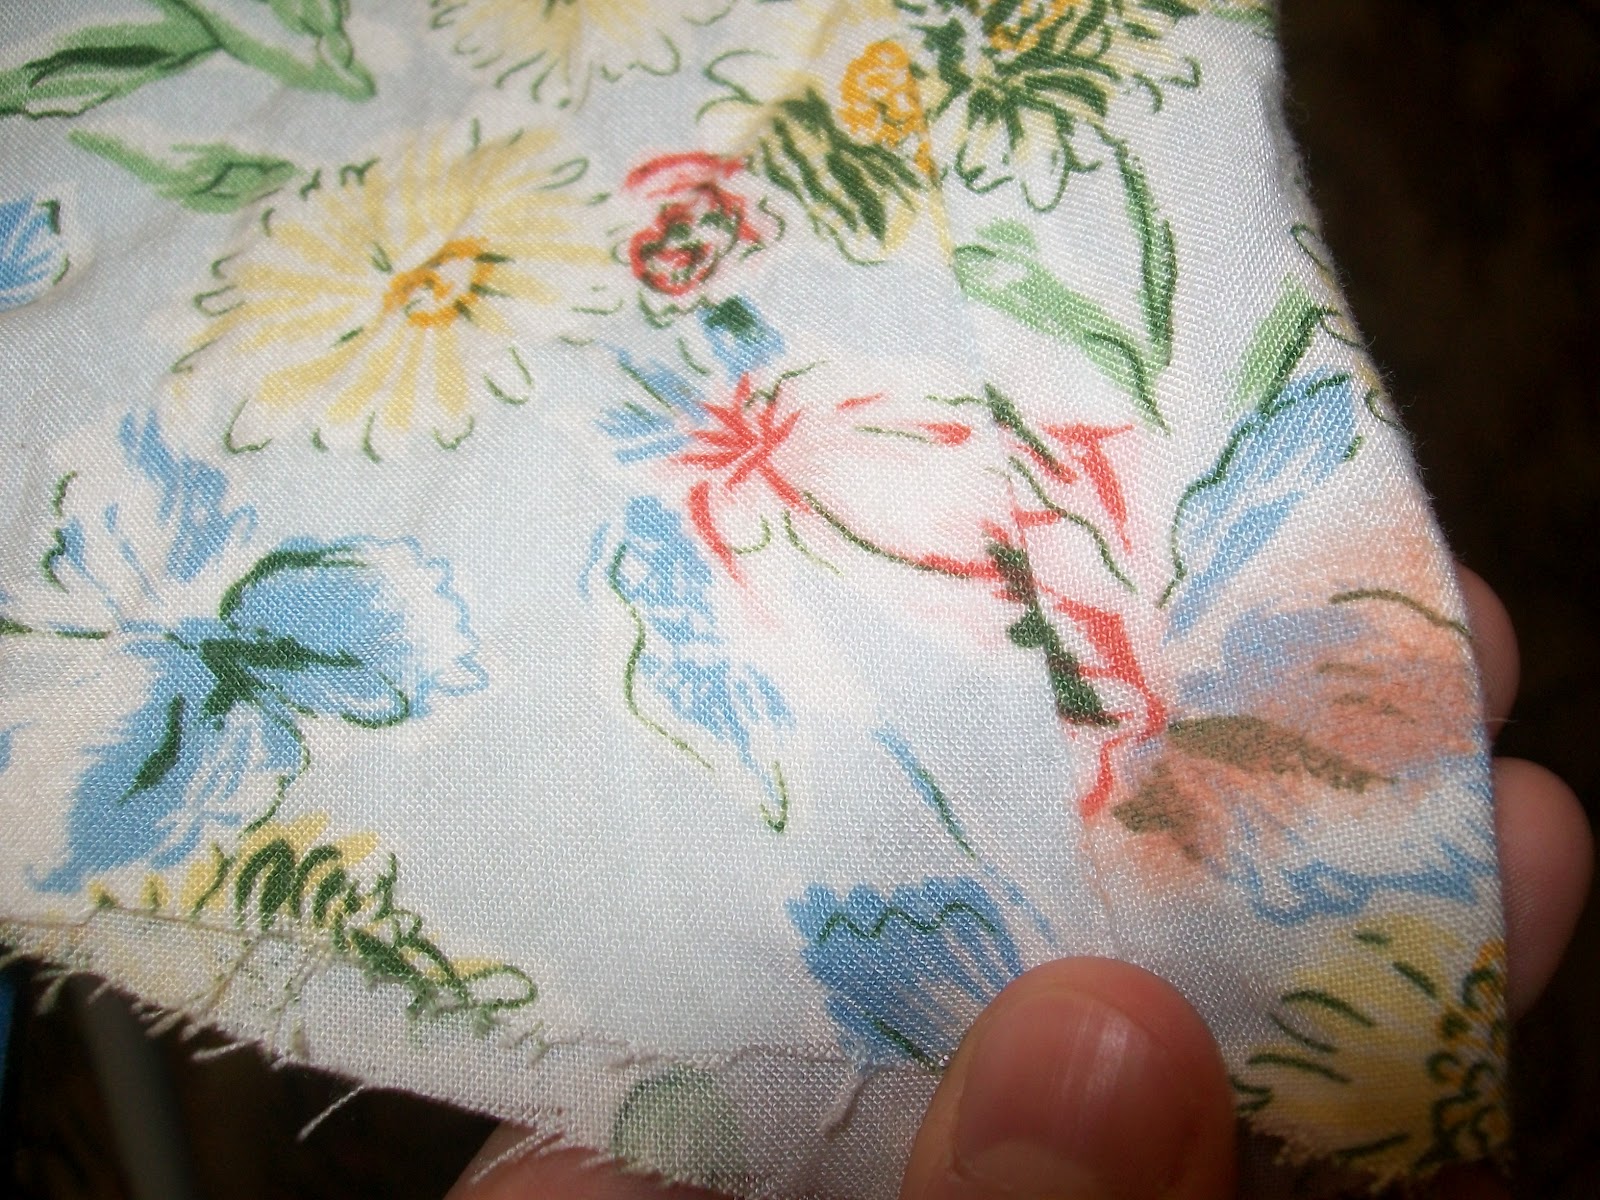
(chalk mark)
I cut the bottom more evenly and turned the dress inside out over the ironing board. I ironed and pinned the hem as per usual, and then proceeded to sew all the way around it.


And here's the finished dress!


Lots of love to you,
Cassandra Louise.
PS- I fixed up that button, too. It now has a lovely back. :-)
Friday, 4 May 2012
I love my cup!
When I first wrote about my search for a reusable cup here, I promised a follow-up when I finally found one.
This is it!
I found one!
This is it!
I found one!
I found the perfect reusable travel cup!
(Please imagine beautiful flashing lights around that)
After all my deliberation, I didn't order one online, didn't get a Keep Cup (although I really like them and may get one in the future) I got one from my local supermarket.The reason I got it from the supermarket was, honestly, because it was there, and it was quite cheap.


This is my cup:

When I wrote the first post about reusable cups, I talked a lot about my reasons for wanting a reusable travel cup, but I didn't know you guys very well back then, so I left one little thing out:
I really wanted a cup with a lid so I could drink my morning cup of tea in the shower to save time, so to "test out" my cup, that's what I did.
My lovely cup of tea in the travel cup:

And the closest thing you'll get to proof that I had a cup of tea in the shower:

Of course that was all in fun. The main reasons I wanted the travel cup were of course waste reduction and my fidgety personality, and so I present to you beautiful, wonderful, fluffy cafe hot chocolate in my reusable travel cup!

And I did indeed leave the cafe before I was finished and take it with me. It was a wonderful feeling, and I was the only person walking down Adelaide St in Maryborough drinking hot chocolate. :-D
My travel cup lives in the wonderful world of my handbag (no picture of that, I don't want to scare you guys!) so I always know I have it with me... unless it's in the washing up. Hmmm... I really need two... :-/
I love you almost as much as I love that sprinkly chocolatey stuff,
Cassandra Louise.
Subscribe to:
Posts (Atom)