Thursday, 30 January 2014

There Is Something Very Special About This Chair...

There is something very special about this chair, and it's not just that it's holding my birthday presents until I open them tomorrow.
 Here, I'll take those off so you can see it properly.
Actually, there's a lot of special things about this chair.  First thing is, there's only one of it, which, if it's not to your taste, you're probably glad to hear.  I can see it's a chair you either love or hate on sight.
The second special thing about this chair is that I rescued it.  Technically, I rescued it twice.  I made it; rather I put it together from two old chairs and some bits and bobs.
This is our story, mine and the chairs:
Many years ago now, I was not living somewhere safe and secure.  The only place I could find to rent at short notice and without getting rid of most of the few things I had was actually a storage space under an old style high set house.  I could use their kitchen and bathroom at least but to say my room was a "bedroom" is a joke.  It was a storage space.  It had an old lumpy bed and a little side table.  The floor was dirt and the floor of the house above was unsealed so my wake up call every morning was sand and grit raining down on my face from above as the little girl of the house ran around getting ready for school.  There was no electric light, I had a small battery powered one but not enough to read or study by.  There was a wardrobe of sorts, but it had no doors.
But then, one day, my favourite thing ever happened: Hard Rubbish Collection!  You guys, it's like an op shop but it's free and on everyone's lawn, as if you didn't know I'd love that!
I saw the blue chair frame in my immediate neighbour's pile.  I saw it had no seat.  I stroked the chair frame and told it "I wish I could fix you, then I could keep you and save you.  I'll save myself one day." because paying actual money to live in a storage space drives you a little bit batty.
For two days I thought about that lovely chair frame.  I liked the colour and the shape.
Then, the day before pickup in my area, I went out for a walk.  I decided to go down a street I'd never been down before, just to see what was there.  That's when I saw it: a clinical, boring-looking ubiquitous metal chair with it's seat detached.  The seat was not exactly pretty, but it was intact and functional, so I grabbed it, along with a bag of coat hangers to get my clothes out my suitcase and in the "wardrobe".
I took it back to my room and then went and grabbed the frame.  I sat the seat on the chair and looked at it.  It fit!  I planned to go to an op shop the next day and buy some fabric or an old sheet or something to decorate it a bit.  It was about five o'clock by now so all the op shops were closed.
But the more I looked at it, the more I had to fix it absolutely now!  I opened my wallet to see if I could afford KMart.  $20.  It'll have to do, I had a chair to save!
I bought a pink single bed sheet to cover the seat, a hammer and nails to hold all the bits together and on my way out, the craft section caught my eye.  I thought it would be nice if I could tie-in the delicate blue of the chair with the bright pink of the seat somehow.  I bought some pastel coloured paints and some butterfly decals and ended up making this design:
I finally had a little colour in my life!  With no garden and no electric lighting, this is what I needed!
I was never quite able to fix the seat on properly.  It held for a bit, but came loose again.
But it's a very comfortable seat, and if you sit still, you'd never notice.
There is something very special about this chair.
Signed with love and hope,
Cassandra Louise.

Monday, 27 January 2014

Lentil Lasagne - Meatless Monday

This lasagne recipe comes entirely out my own head and it's the first lasagne dish I  ever made from scratch.  I have perfected the recipe to fill this baking dish:

 What?  That's not how you measure things in the kitchen?
(22cm square)
This recipe is vegetarian but not vegan.  If you can veganise it I would love to hear from you!  It's not low fat, and I'm not sure what counts as low salt but it probably isn't that, either.  Lots of fibre and nutrients*, though.  Probably.
*Not a real nutritionist, I just did year 12 home ec.
I set aside two hours to make this, but most of that I'm just sitting around waiting.  It's certainly not a one-pot meal, but it is very simple.

You will need:
 One big tomato cut into bits or 10-12 small tomatoes.  I got these nice-looking grape tomatoes because:

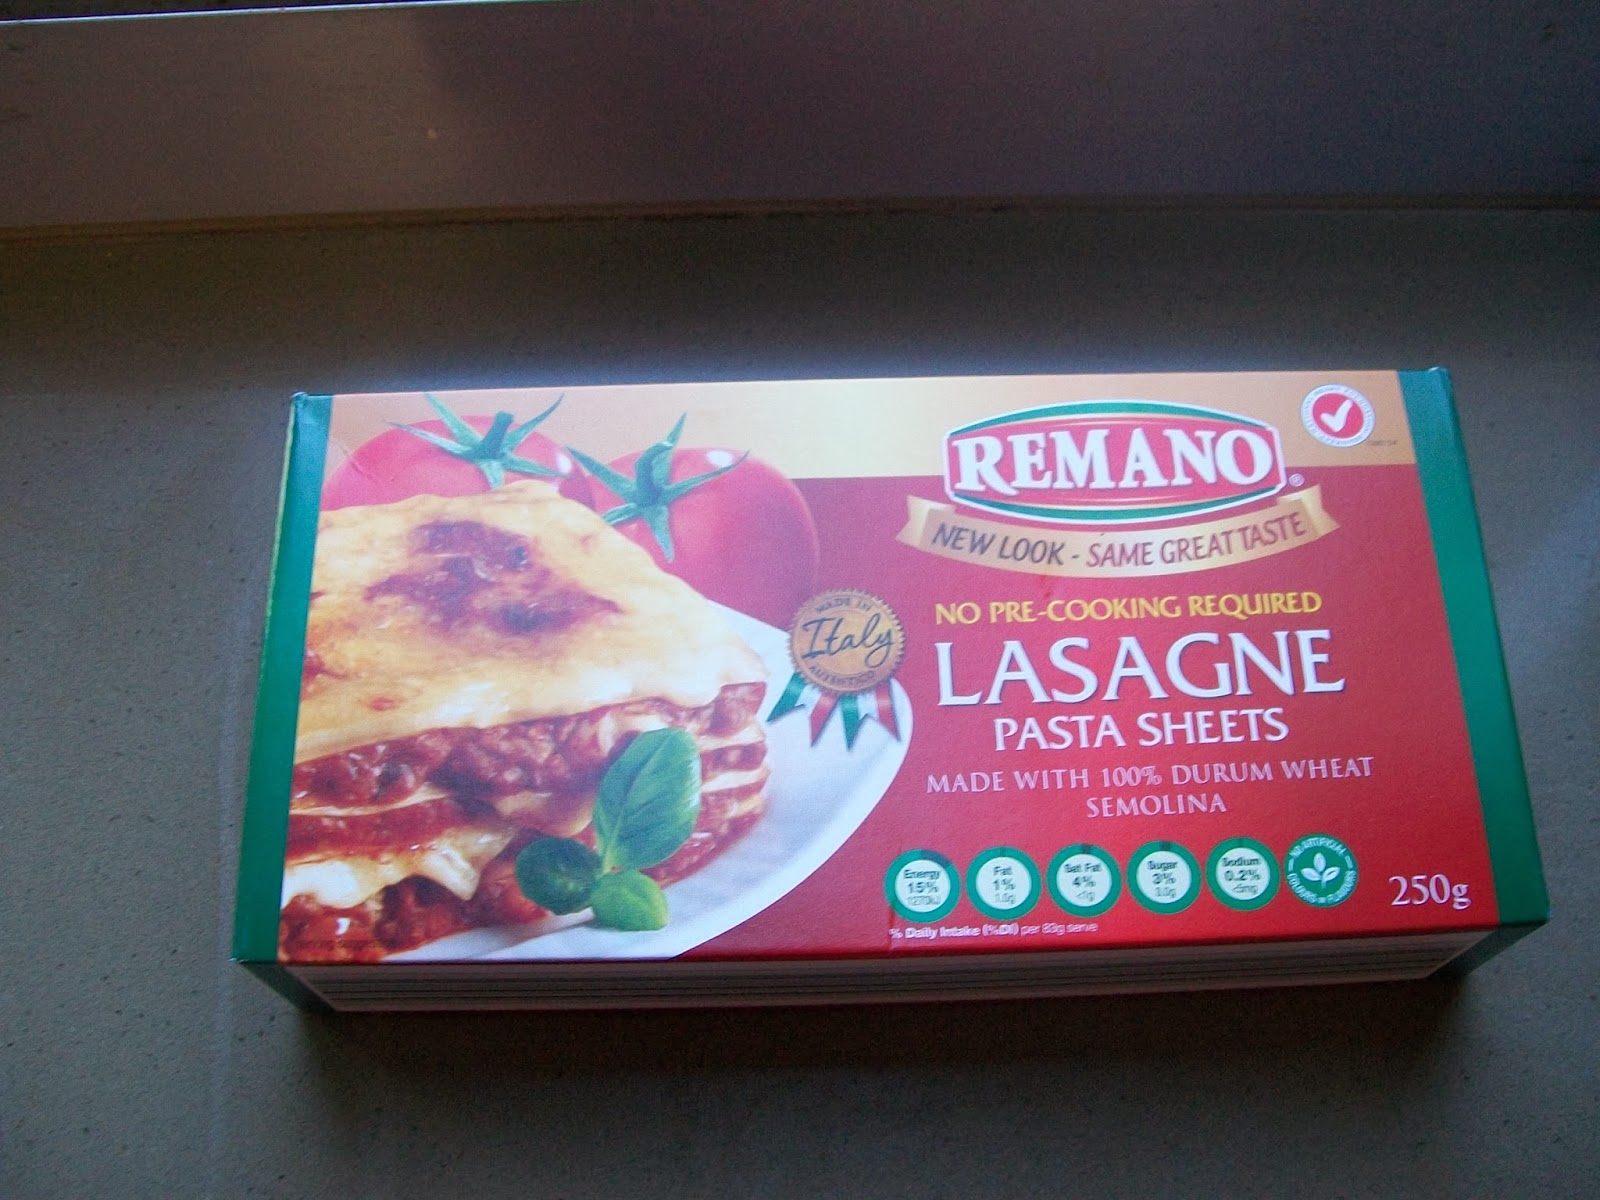
 Lasagne sheets.  Two of these is slightly smaller than my dish, so I use these.
 This much tomato paste (one tub)
 Whole green (brown) lentils
 Red split lentils
 This pretend parmesan stuff
 Any kind of sweet chilli sauce
 Grated cheese.  OR you can grate cheese yourself if you're some kind of fitness nut, I suppose.
 Any vegetable stock powder, but has to be a powder
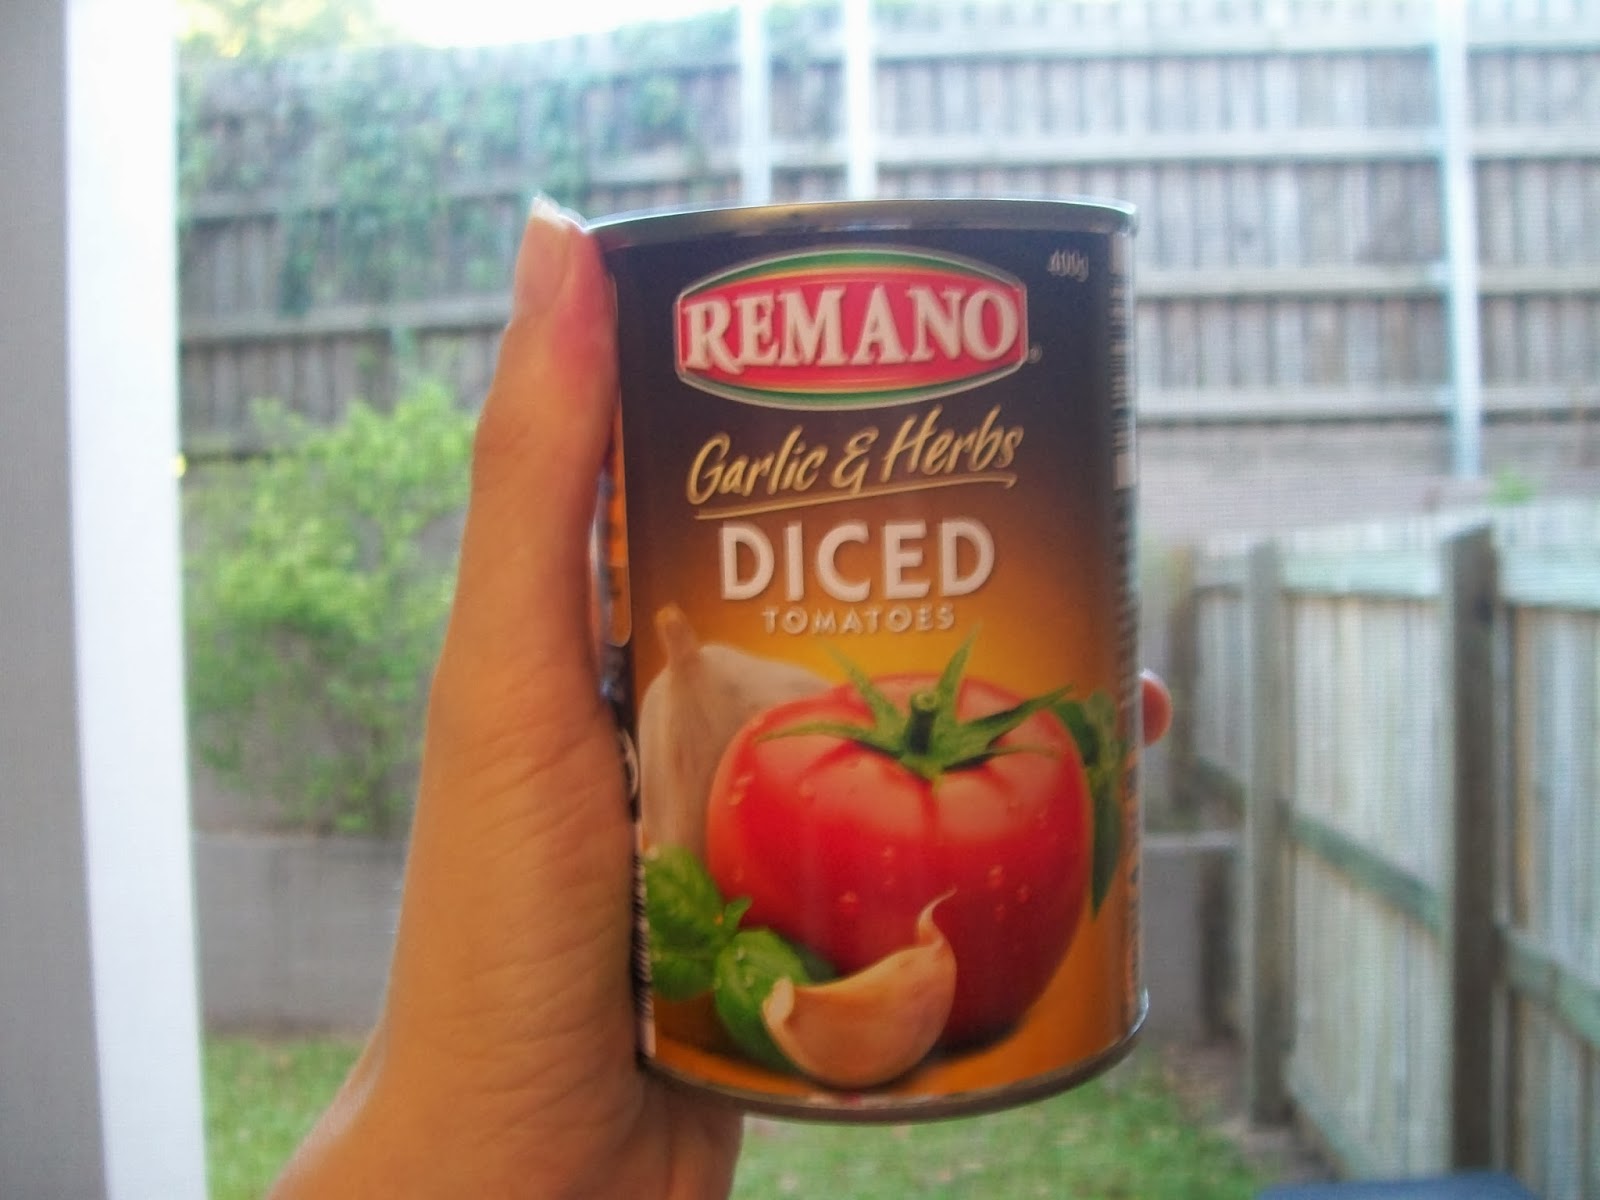
 Diced tomatoes in a tin.  I use one with herbs in so I don't have to remember to add herbs.
Parsley for garnish if you're feeling fancy.  This is from my garden.  Posh!
You'll also need plain flour, cooking oil, butter, milk and ground cinnamon.

Method:
 Bring three cups of water to the boil in a saucepan and add half a cup of green lentils.  Turn the heat down to medium.  Go sit down and rest for 10 minutes.  You've earned it.
 Add half a cup of red lentils to the pot.  All the lentils will need another 20 minutes together.
While the lentils are getting nice and soft, get a medium frying pan out and start the rest of the filling.
 Cut the little tomatoes in half, lengthwise if they have a length, and place them skin-side down in the lightly oiled pan.  Drizzle them with a little more oil and sprinkle them with vegetable stock powder.
 When everything smells like hot tomato (or after 5 minutes) add the tin of crushed tomatoes and the tomato paste.  Stir well to combine.  Leave the pan on low heat.
 When the lentils are ready, add them to the tomato mixture, along with a sprinkle of cinnamon and a tablespoon of sweet chilli sauce.
 Stir it until it looks like this.
 Prepare your baking pan to receive the first delicious layer.
 (Unfortunately I have no pictures of the cheese sauce-making process as I was alone and needed both hands, so I'll try to tell you carefully.  If you need something clarified, please leave a comment.)
Add 2 tablespoons of butter to a small saucepan.  When the butter has completely melted, remove from heat and add 1/4 cup of plain flour.  Stir until you have buttery flour.  Add 1/2 cup of milk and return to heat, stirring constantly.  When you feel it starting to thicken, remove from heat and add about a tablespoon of ground parmesan and a sprinkle of cinnamon.  Stir to combine.
 It should look kind of like this.
 Each layer of your lasagne will look like this.  Or nicer if you have a lot of spare time.  Using a soup ladle for the lentil filling, pour 1 & 1/2 -2 ladlesful into the pan, then sprinkle with grated cheese and a few blobbity-blobs of cheese sauce.
 Try to make each layer of pasta face the opposite way to the last, which will make the dish slightly more stable according to my Nana.
 When you reach the top of the dish, add a final pasta layer.  Cover the top pasta layer with the remaining cheese sauce, a sprinkle of grated cheese, a little sprinkle of cinnamon and some fresh parsley if you're fancy.
Bake for about 20 minutes to make it look like this.  Or again, nicer if you have lots of free time.

Happy Lasagne-ing!
Cassandra Louise.


Little Wolff
This post was added to the Traffic Jam Weekend Linky Party at "Being a Wordsmith" on the 4th of May 2018.

Saturday, 25 January 2014

Things Which Have Sprouted Since I Tidied Up

Little tomato plants which were probably dormant in the compost bin; what from memory are baby lettuce, which is great as thst's what I planted; giant freaking toadstool which I will probably take out but I've already become emotionally attached.
No idea where I'll put yet more tomatoes, but I'll find space. Always wanted a big family! ;-)

Happy Gardening,
Cassandra Louise.

Wednesday, 22 January 2014

Fixing Up My Garden

For about the same amount of time I was being a slack blogger, I was being a slack gardener.  Depression really doesn't want us to have any nice things, does it?!  Anyway, last week I fixed up my little garden of tubs and I took lots of pictures so I can share that with you.  I know you care. ;-)

Here's the bit where I tried to get a "before" picture:


I started by taking out anything dead, and crying a little if it was something not meant to be dead; then I stood up the droopy climbers (tomatoes and potatoes).  I had no plant ties or old stockings, so I cut some strips of bubble wrap and tied them very loosely.  I took out some of the clover, but left a bit because I like it, and another patch I left in a tub I then sprinkled lettuce seeds in.  Clover actually puts nitrogen in the soil rather than sucking it up, so my lettuce will be extra green and lush!  I also found one basil plant- I thought none of them had taken!- and a little radish plant.
Radish. :-D
I took out my last silverbeet plant.  It had always been stunted and recently got attacked by bugs.  The plant was over a year old, so I thought I'd use it's space for something else.  I was a bit sad but managed to save this much to eat:
So not a total loss.  The roots and the rest of the leaves are in my compost bin.

If you are very obsessive or have a lot of free time, you may remember this little guy:
Well, now my chilli plant looks like this:
It's in a much bigger pot and gives my more fruit than I can use.  Wonderful!

Then I tried to get an after picture for you:


Well, you get the idea.

Signed with love and joy,
Cassandra Louise.


Thursday, 16 January 2014

Natural Hair Growth Oil

This is the oil recipe I use on my hair.  I don't know if it actually speeds up hair growth, the last proper science thing I read on that said it's almost impossible to actually speed up hair growth, but it does make the hair you've got stronger and less likely to break, thus meaning you retain length more easily.

First step, make yourself a nice cup of tea.  The tea is optional, but a cup of boiling water isn't, so you may as well use it to make tea with.
Fill the cup and sit a small bowl on top.  This bowl is what you'll make the hair oil in.
Add about that much olive oil (roughly 2-3 tablespoons, but my little bowl very conveniently has a line in it as part of the pattern so I don't really measure)
Next, add about a teaspoon of coconut oil.  If you're lucky enough to live somewhere that isn't blindingly hot, your coconut oil will be lovely and white and solid and easy to measure.  Mine looks like this, though and that's alright too.
Coconut oil can be very expensive so if you don't have it or can't afford it, don't stress too badly.  Personally I think grapeseed oil would be a good substitute, but you can do your own investigation.
Lastly, add 6-8 drops of this stuff:
(do not adjust your sets, blurry photo is blurry)
Tea tree oil.  You can also use eucalyptus.  If you don't have those or don't like them, peppermint or rosemary oil.  This ingredient is optional, as it's the weird hippie-voodoo bit.  This is a "warming" oil and it's included to stimulate the scalp and increase blood flow to the hair follicles, which may speed hair growth, but again I'm not sure.  I include it because I like how it feels on my head.

Let the bowl sit on the cup for 5-10 minutes.

To use, make sure you completely detangle your hair, working from the bottom up to limit hair breakage.
Take off or cover up that nice shirt and flip your hair over the sink.  Massage the oil into your scalp and the roots of your hair first, then the very ends, then the rest of the hair shaft.  Cover your hair with a plastic cap, cling film or a hair scarf so you don't get oil on everything ever.
Leave the oil on your hair for at least an hour (I leave it in at least over night, sometimes the next day, but I totally rock hair scarves) and then wash it out.  Try to wash it out with cold to warm water, not hot, and use conditioner in place of shampoo.  The "conditioner as shampoo" thing works well and was recommended to me by a dermatologist.  Conditioner is basically a mixture of oil and water, and so contains enough detergent to clean your hair in order to bind the oil and water.

Happy... ahh... hairing?

Cassandra Louise.

Monday, 13 January 2014

Op Shop Hop - Maryborough Queensland

I've been in Maryborough to visit my pets, and also my parents are here.  I'm going back to Brisbane tomorrow, so today my mum and I went on an op shop hop around town.  We both found some great things, as well as some great things which we couldn't take home or didn't need but thought were wonderful.

Our first stop was the St. Vinnies shop on Kent Street.
 We chose a good day!  The "special" on the board today was:
Which is perfect for me, as I am a lady and wear tops.  I looked through the racks inside to find four tops that would fit me and were cotton.  The ones I picked out had an original sale price of this:
So I felt $10 for the lot was a great deal, especially since even the cheapest top I chose would have been over $10 new.
I chose this one, which is my new favourite top, so you can't tell me if you don't like it:
Along with these three:


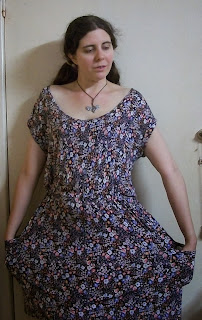
Along with the four shirts, I found a nice cotton dress with pockets for $5.  I couldn't find anywhere to take a full length photo, so you'll have to believe me that it's about knee length.
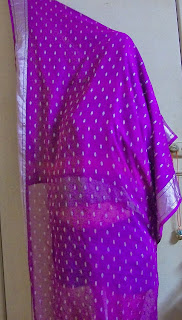
I won't show you everything that Mum got for fear of making the longest photo-based blog post ever, but I must show you this sari* that she got for $4.
*Not being worn as a sari in picture, really just making me a beautiful speckled purple ghost
Other things of note at Vinnies included all these wonderful plants from $1!
This organ, with a stool for only $40.
And children's books for 50c each or 4 for $1 from this basket

Our next stop was the Salvos shop in Alice Street, on the corner of Bazaar Street.
Where the "special" this week is:
Mum was after manchester, so this was very good for her.  It's quite hot so we didn't even want to think about long pants existing, but it's great for anyone looking to stock up for Winter.
One thing really caught my eye in here, which was this two piece outfit, obviously home made but fits me like it was made for me!  It was $6 for the set.
And it looks like this on me:
Again, couldn't get a full length picture, but the skirt goes down to my knees.

Other things of note at the Salvos shop included these toys from 20c each, some with their original tags still on, averaging $1.
This beautiful bassinet for $40
And this 60cm long fish tank for only $20!

Third stop of our op shop hop was St. Paul's op shop in Adelaide Street.
My favourite thing at this shop is always this clothing rack at the door.  It always has a mix of women's, men's and children's clothing and each item is 50c.
Mum bought some candle holders here, $2 for a set of 4, and some fabric.  I found a book I wanted which was priced at 50c, but they threw it in for free with Mum's stuff.  Score!

Our final stop was the Lifeline shop, also in Adelaide Street
.They also had an excellent special on ladies' tops, but I already had four so I tried really hard not to look at any as I have to get all the stuff I buy home to Brisbane.
Inside, they also had a special on dresses, $5 each.  I got this pink dress which was marked down from $8!  It goes down to my ankles and is delightfully cool and breezy to wear!
Other items of note at Lifeline included 50c books.  SO MANY BOOKS!
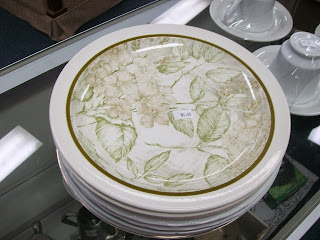
These lovely dinner plates at $1 each:
And this big bin of green thongs (footwear, not the ahh... other kind) for 50c/pair, new!

If I didn't have to get everything back to Brisbane, I would have bought so much more... including that $40 organ, which I'm a bit in love with even though I never even saw it with the lid up.

Happy Op Shopping!
Cassandra Louise.